AWS permissions for integration
Step 1 — Sign in to the AWS Management Console
Open the Sign in page, select Root user, and sign in using your AWS account root user credentials.
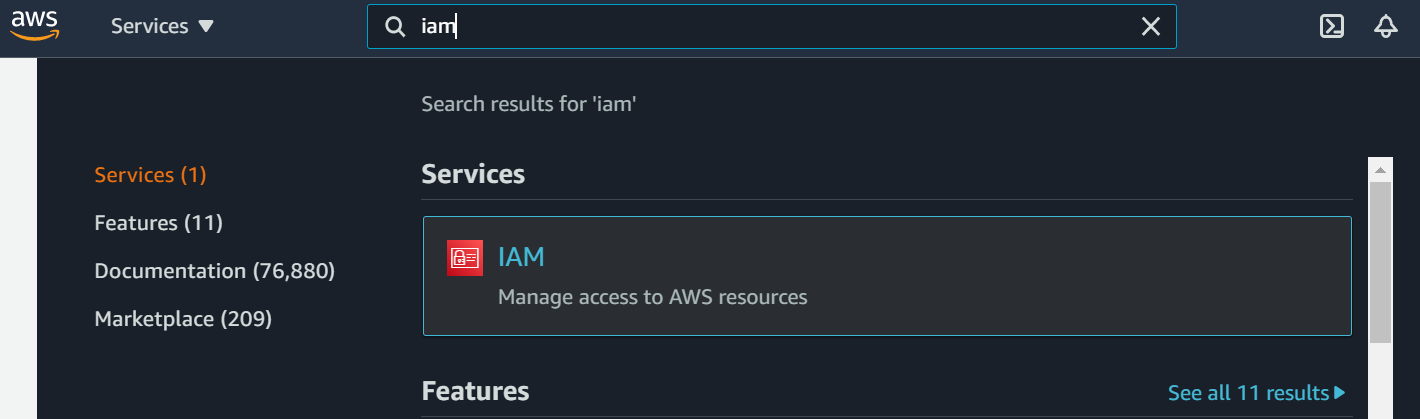
Step 2 — Search for IAM user
After logging in as root user, search for IAM in the search box, and then pick IAM from the services area.
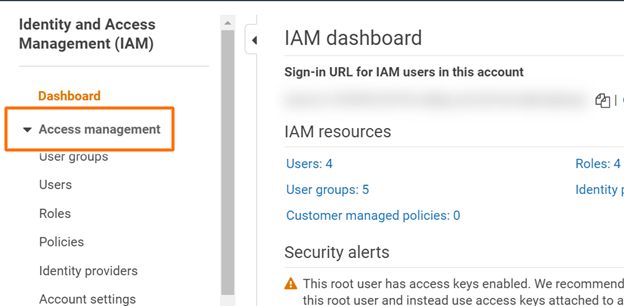
Step 3 — Expand the Access Management
After selecting IAM from the services area, expand the Access management from the menu.
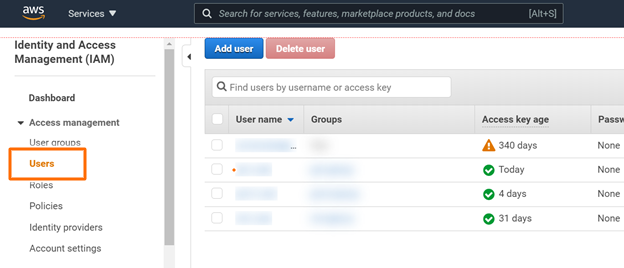
Step 4 — Click on the Users tab
After expanding the access management menu, click the Users tab.
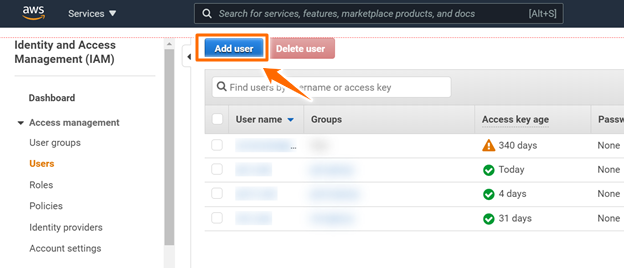
Step 5 — Click on Add User button.
Now click on Add user from the top left corner of the opened window.
Step 6 — Give a name for the new user.
After clicking on Add user, give a name of your choice to the new user.
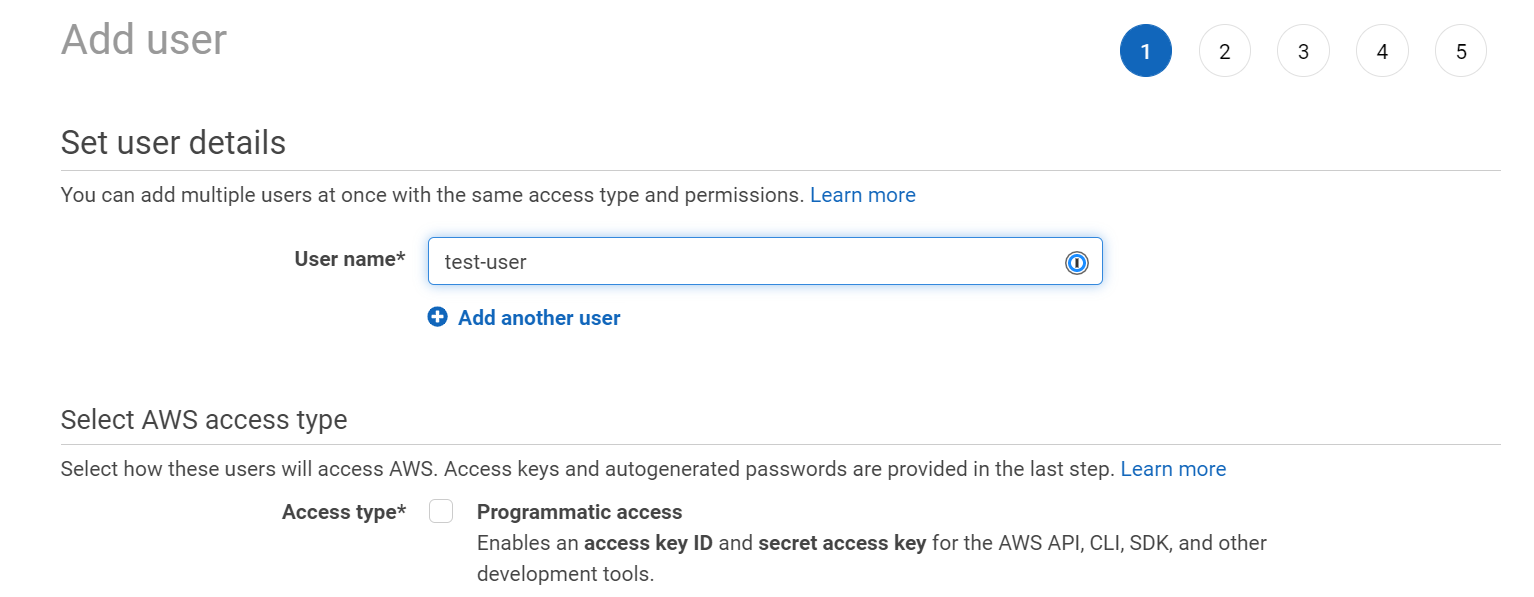
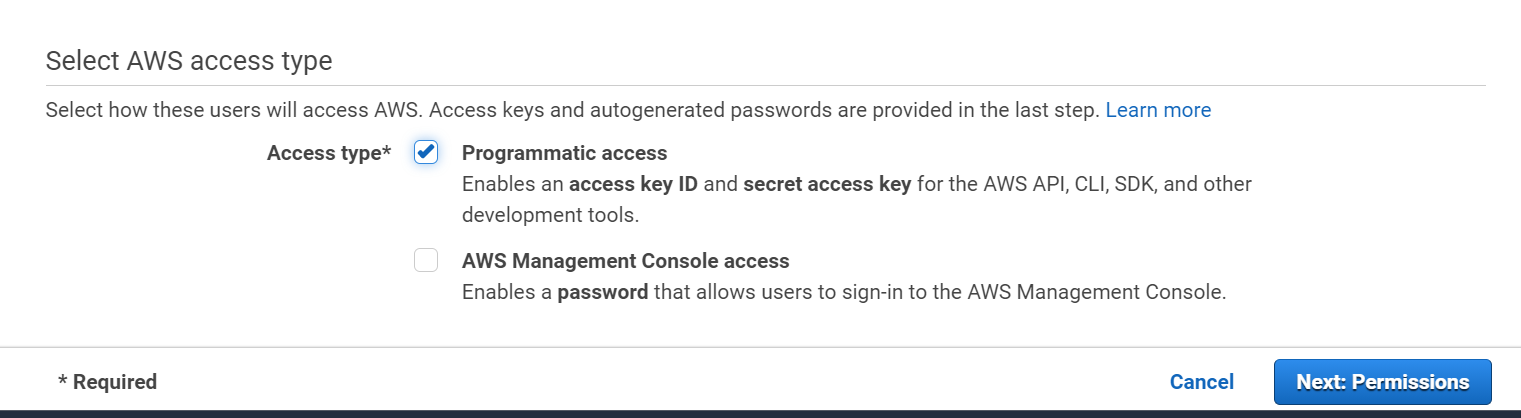
Check the Programmatic access checkbox from the AWS access type section and click on Next: Permission button.
Step 7 — Click on Create group
In the next step, you'll need to add the user to a group that has read permissions on AWS EC2. To do so, you must first create a group for the user to join.

Step 8 — Give a name for this group
After clicking on Create group, give a name of your choice to the new group.
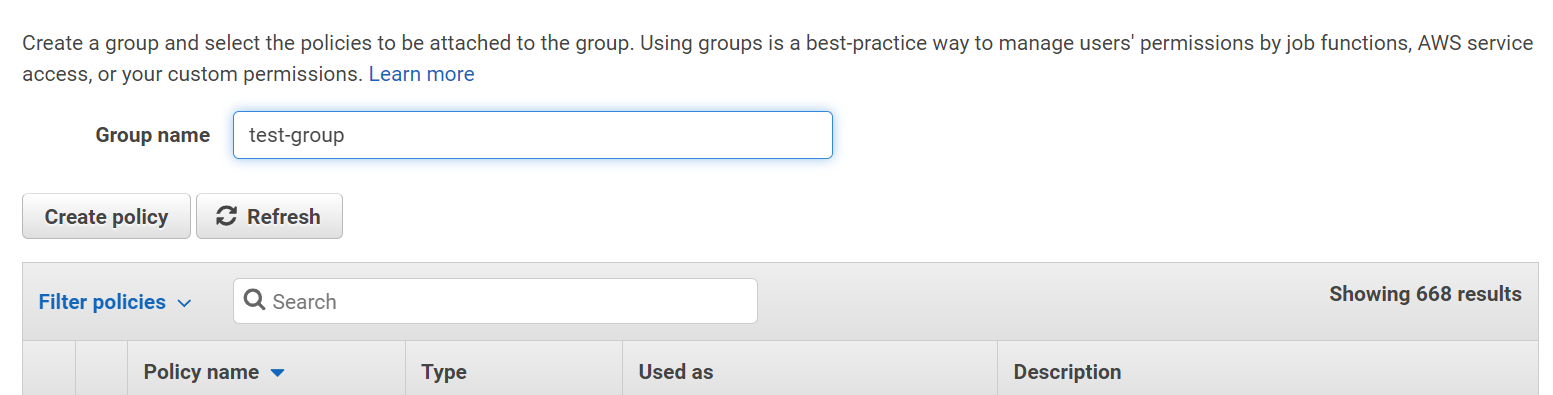
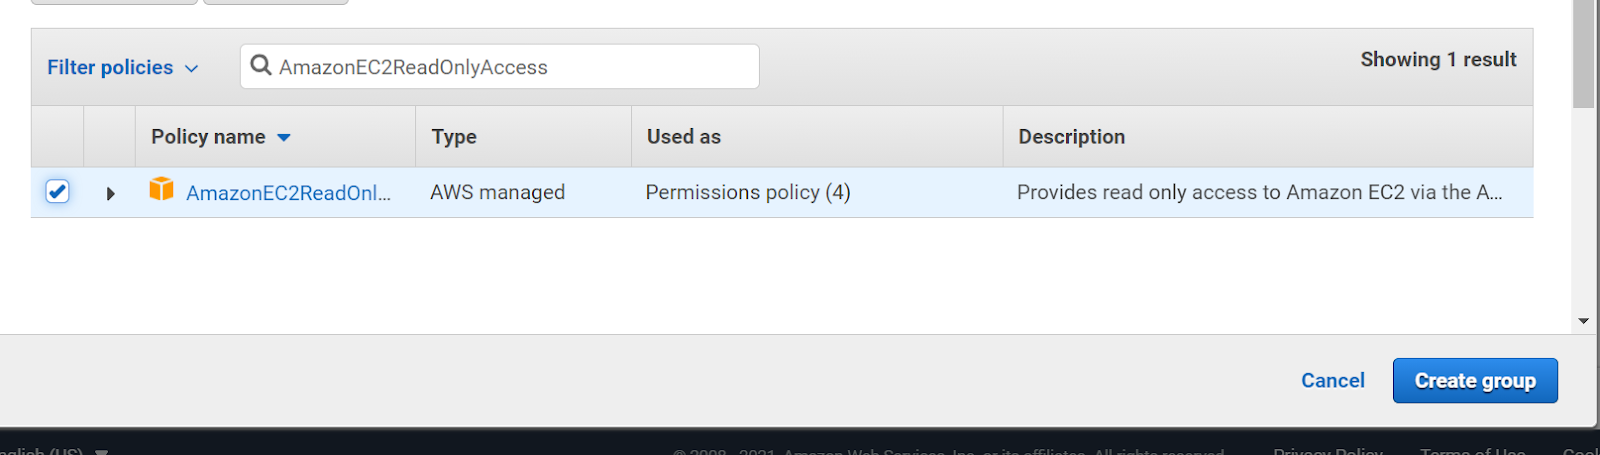
Step 9 — Add Group’s Permission
After that, you will need to add the group's permission for this, so look for "AmazonEC2ReadOnlyAccess" in the filtering policies search section.
Select the “AmazonEC2ReadOnlyAccess” checkbox and click on the Create group button.
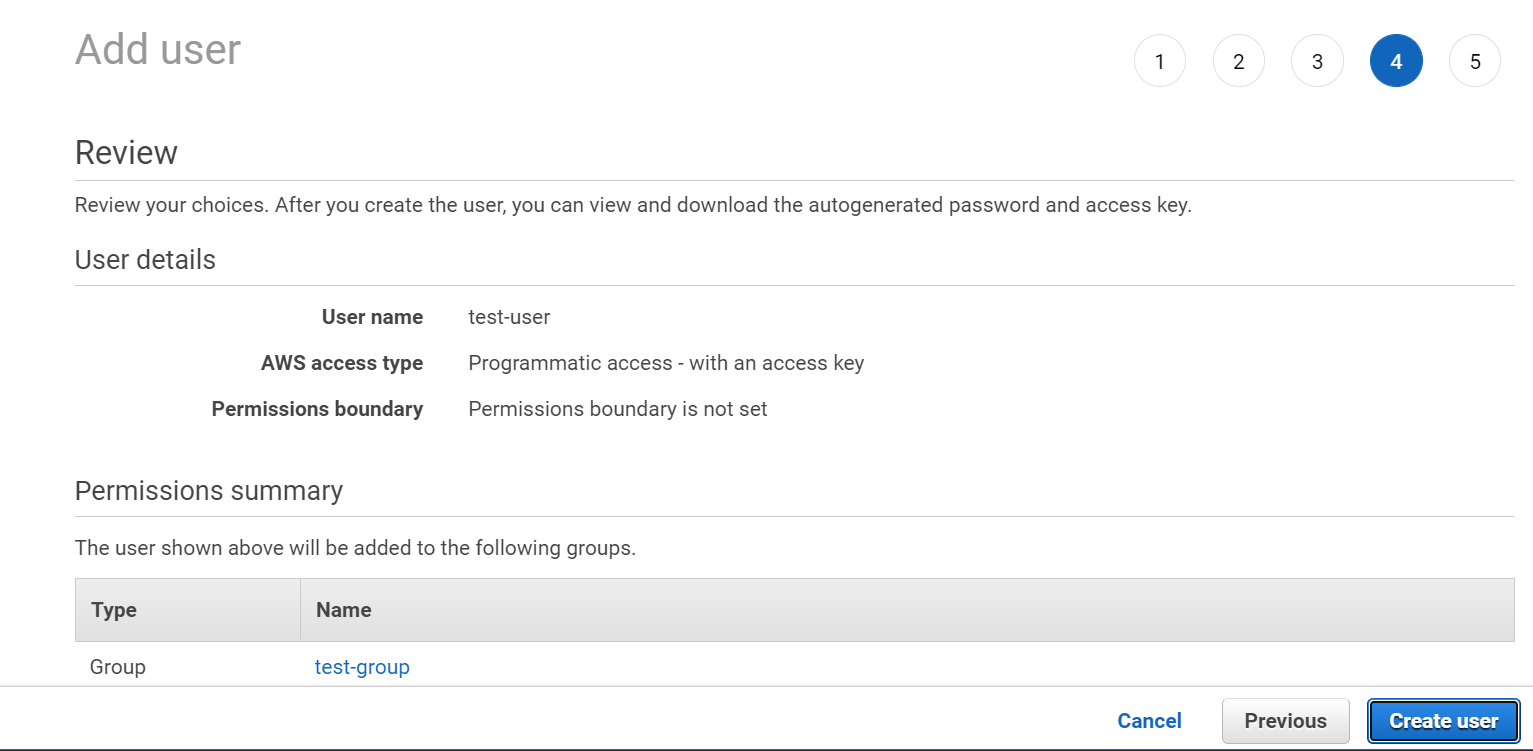
Step 10 — Finally we have to click on Create User
Once you've created a group, the user you're creating will be automatically assigned to it. In the final step, click on Create User.
Step 11 — Access to AWS keys
After you've created the user, you'll see the screen below, which shows the access key and secret key. You may use them to integrate AWS assets.
