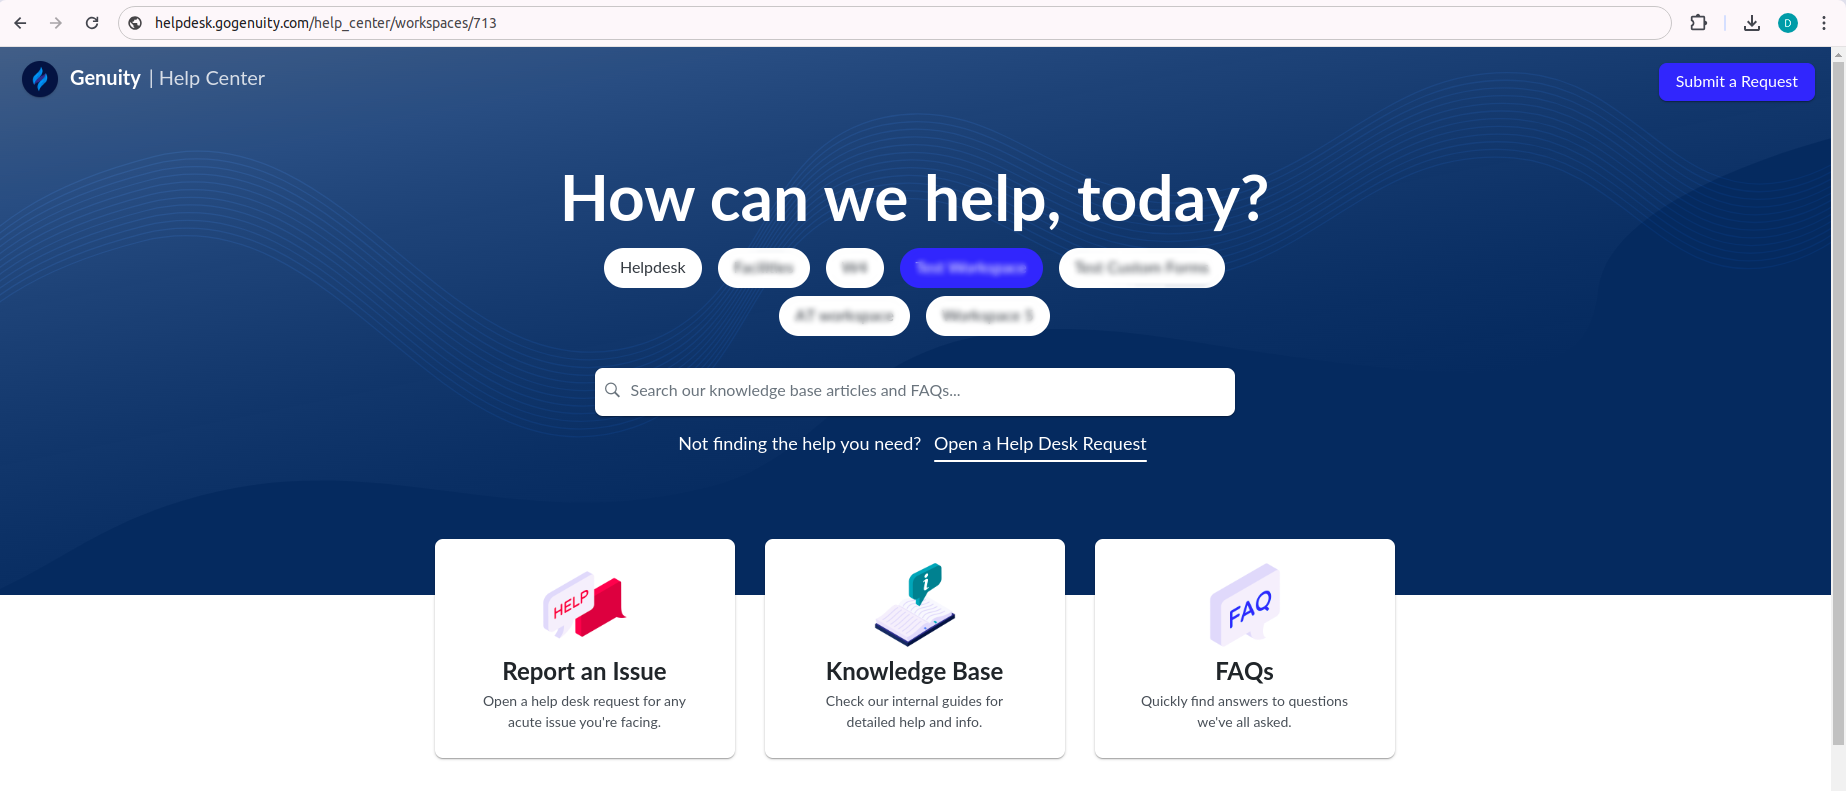
The custom domain feature allows you to personalise the URL of Genuity’s public help center with your company website’s URL. Instead of using the default URL provided by our platform, you can use a domain name like “helpdesk.yourwebsite.com”.
Navigate to Custom Domain Settings
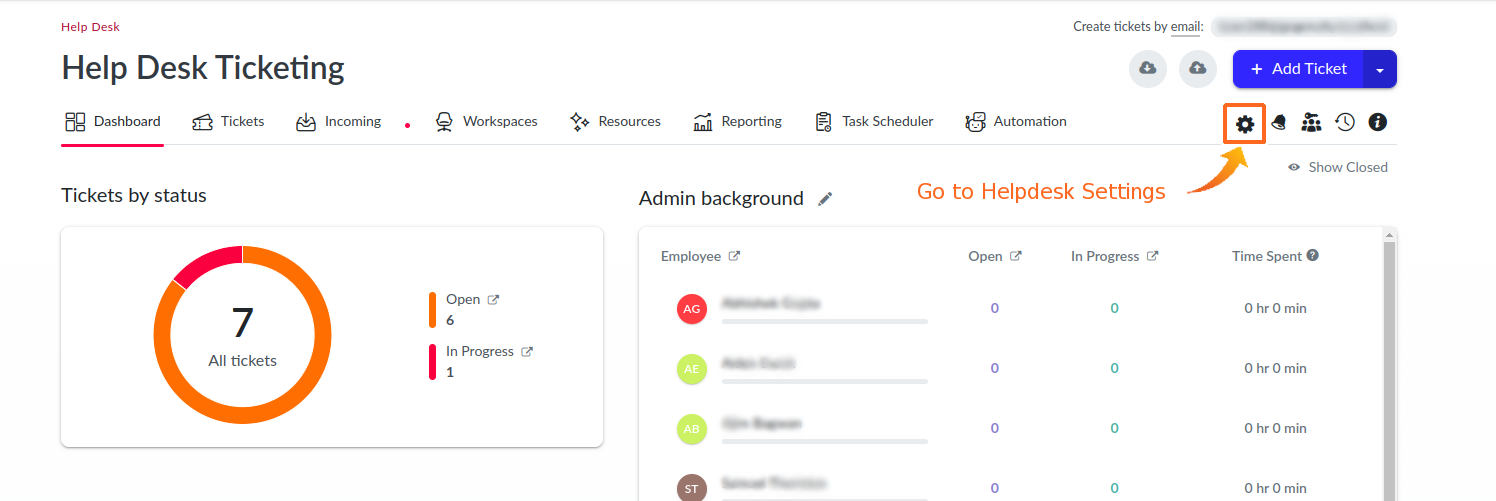
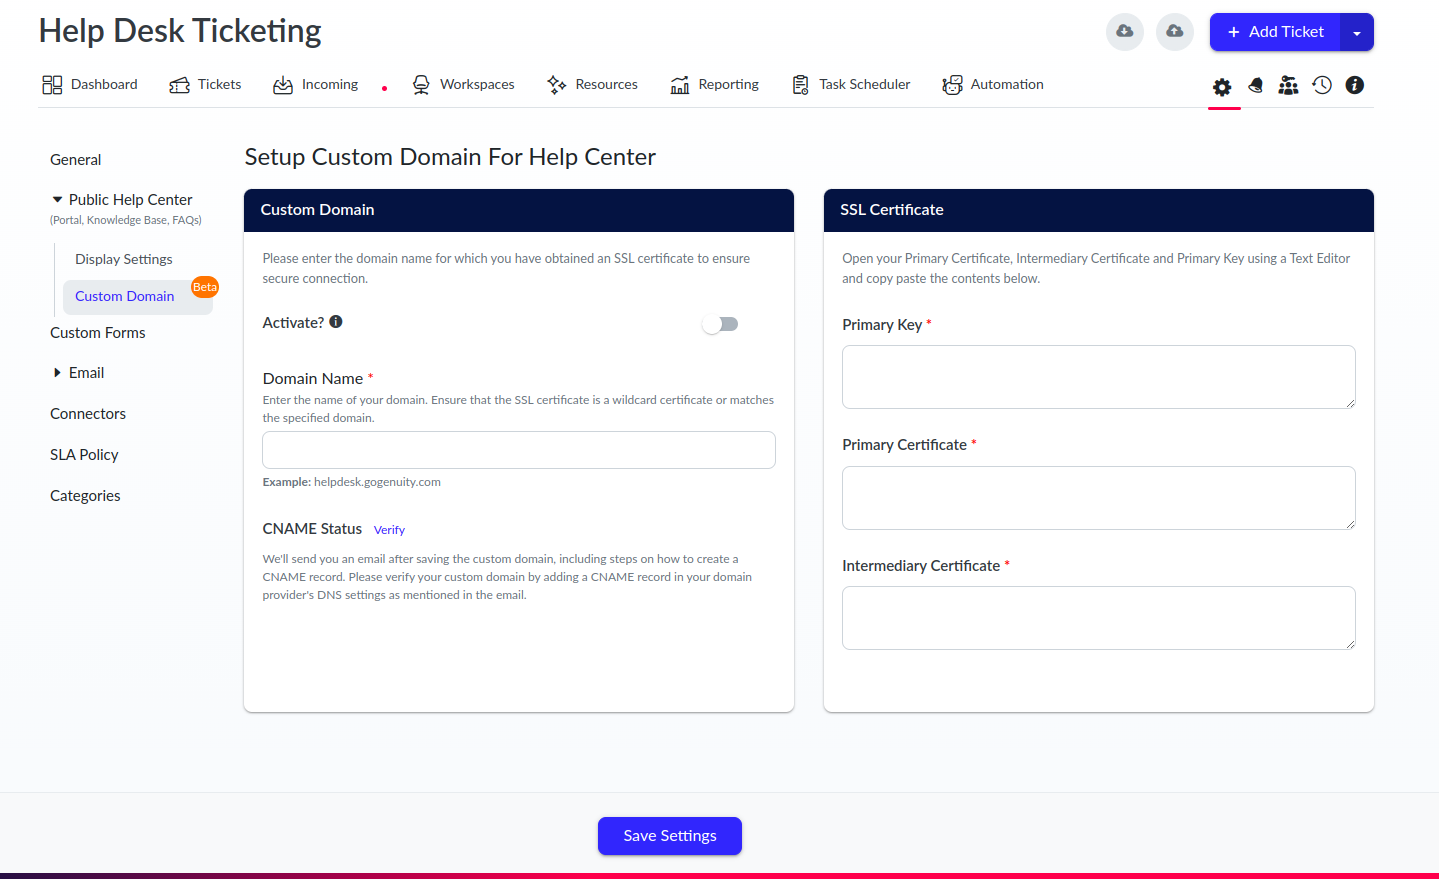
- Go to Helpdesk Settings.
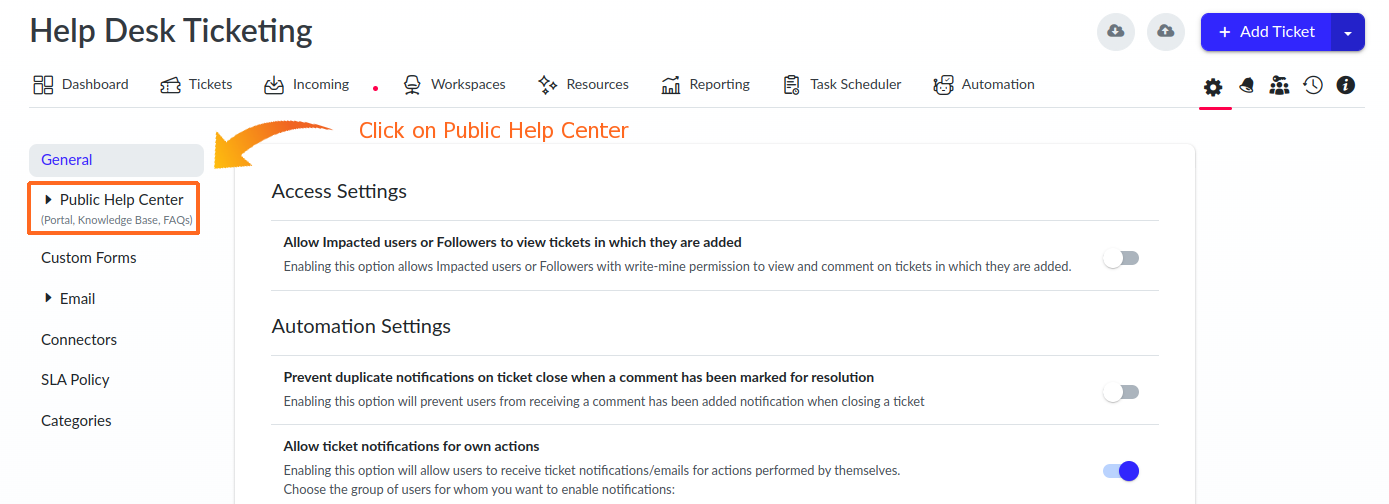
- Click on the Public Help Center.
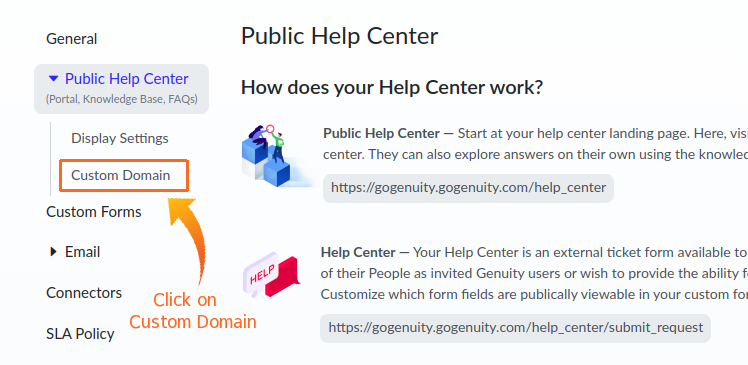
- Click on Custom Domain.
- You will see the Custom Domain settings page.
Steps to Set Up Your Custom Domain
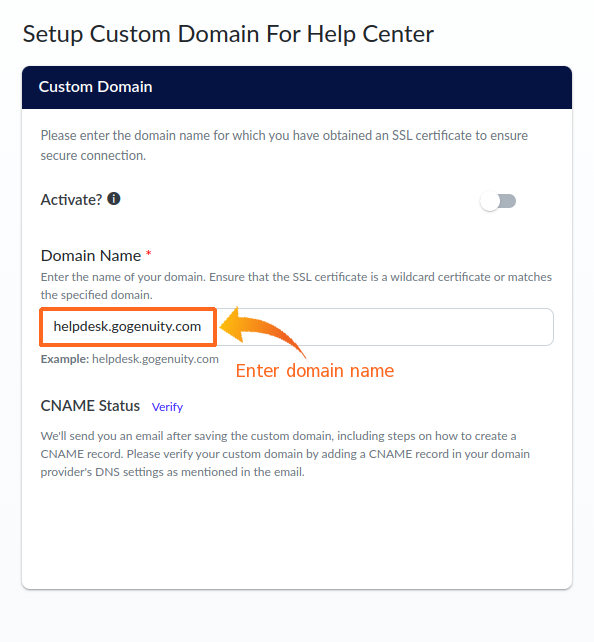
- Enter Domain Name: Type in your desired custom domain name (e.g., helpdesk.yourwebsite.com).
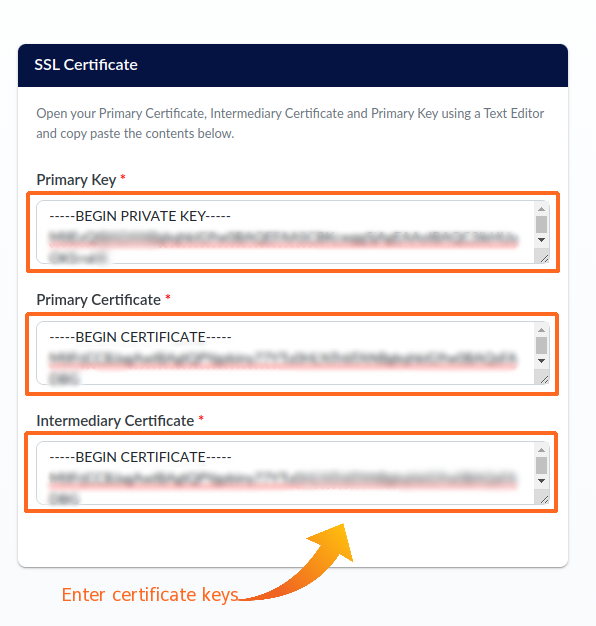
- Enter Certificates: Provide the Primary Key, Primary Certificate, and Intermediate Certificate in .pem format. Ensure that the certificate is either a wildcard certificate or is valid for the specified domain name.
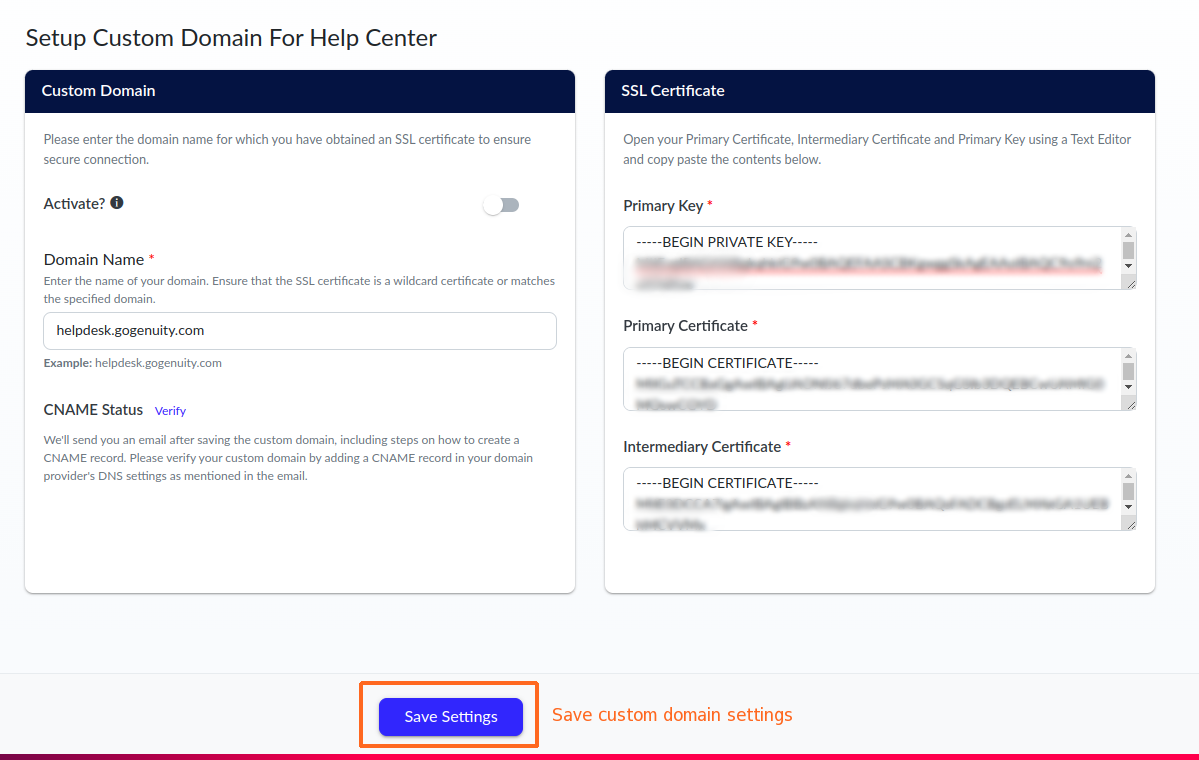
- Save: Click on the Save button to save your custom domain settings.
Post-Save Instructions
After saving your custom domain settings, a modal will be shown and an email will be sent to your company's registered email address with steps to create a CNAME record.
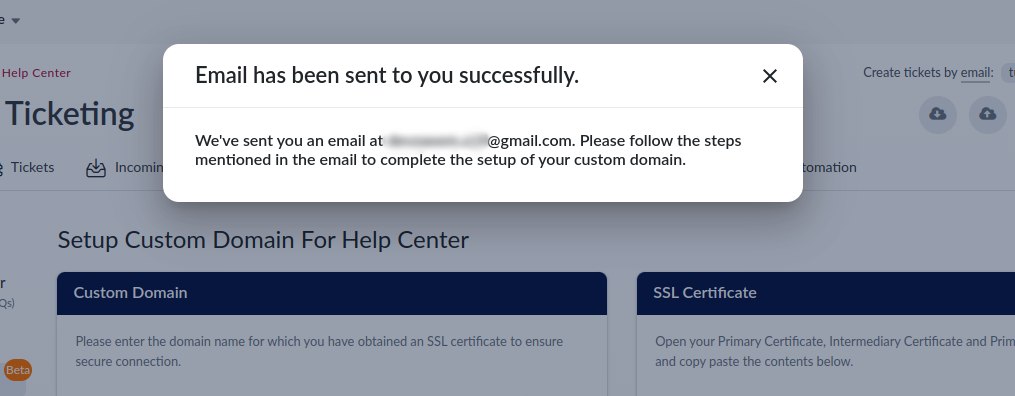
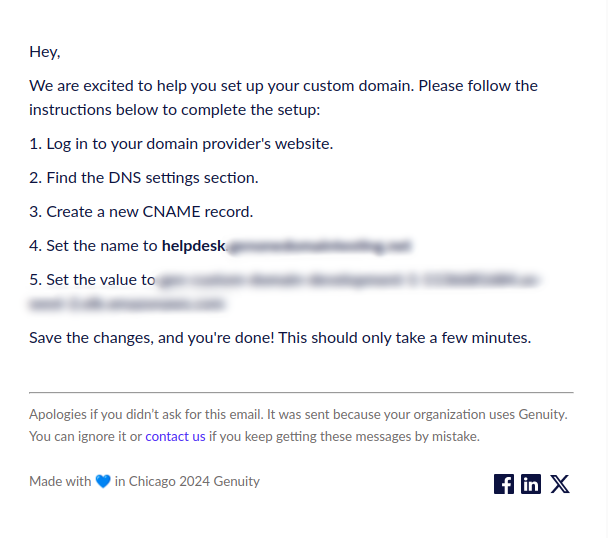
- Check Your Email: Look for an email from us that contains the necessary steps to create a CNAME record.
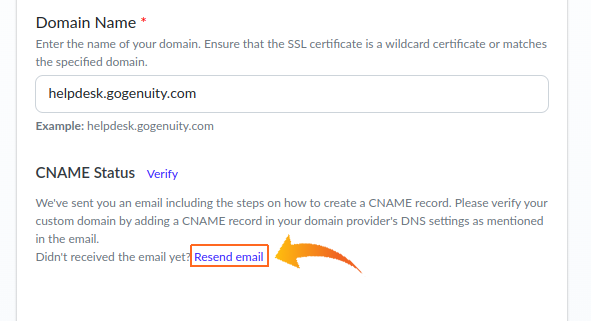
- Resend Email: If you haven't received the email, you can click on the “Resend Email” button in the Custom Domain page.
Understanding CNAME Records
A CNAME (Canonical Name) record is a type of DNS record that maps an alias name to a true or canonical domain name. For example, if your custom domain is “helpdesk.yourwebsite.com”, the CNAME record will point this domain to our platform's URL, such as “yourcompany.gogenuity.com”.
Verifying Your CNAME Record
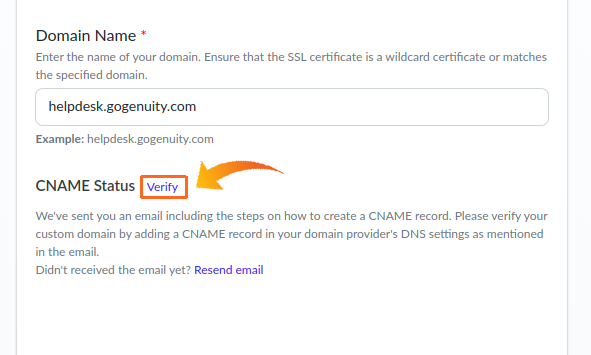
After creating the CNAME record, return to the Custom Domain settings page and click on the “Verify” button. This will check if the CNAME is correctly pointing to the link provided in the email.
Successful Verification:
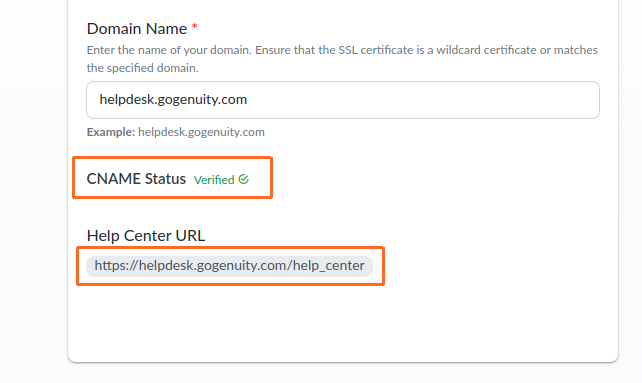
If the verification is successful, your custom domain is now set up with Genuity and you will see your custom domain’s help center URL.
Activating/Deactivating Your Custom Domain
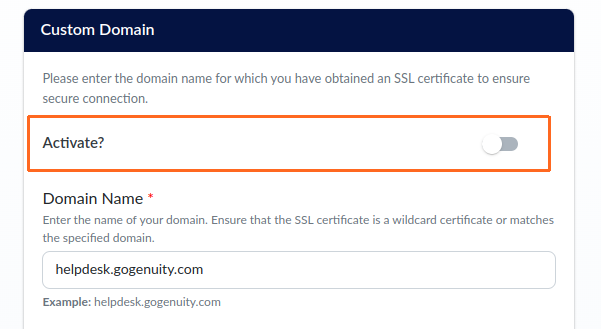
Once your custom domain is verified, you can easily activate or deactivate it using the Activate toggle button in the Custom Domain settings page.

Custom Domain Help Center Logo & Favicon:
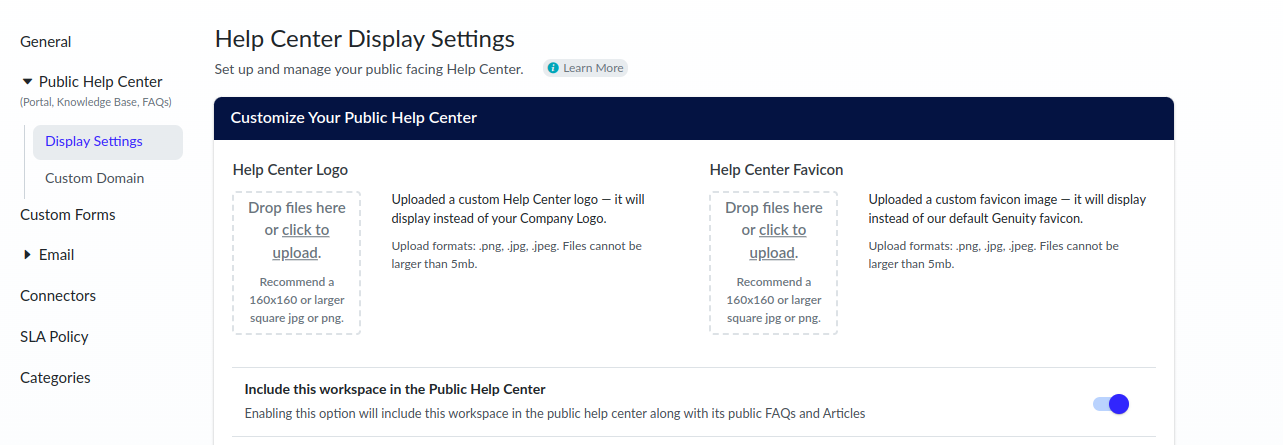
From the Display Settings of the Public Help Center, after saving your custom domain settings, you can update your company logo and favicon only for the custom domain’s help center.
By following these steps, you can successfully set up and manage a custom domain for your help center, providing a professional experience for your customers.
