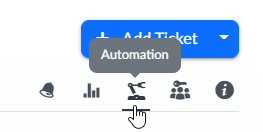
To make your life easier using Help Desk, there is a mechanism to automate tasks such as assigning tickets, sending emails, closing tickets, etc. There is a quick link for automation in Help Desk in the upper right hand corner.
Automation is broken down into a series of automated tasks. An automated task is rule on how to automate a task in Genuity. Each automated task is shown in a card, along with some basic actions (edit, delete, disable). Tasks are assigned an task number to easily identify tasks. Tasks are evaluated in the order the tickets are displayed.
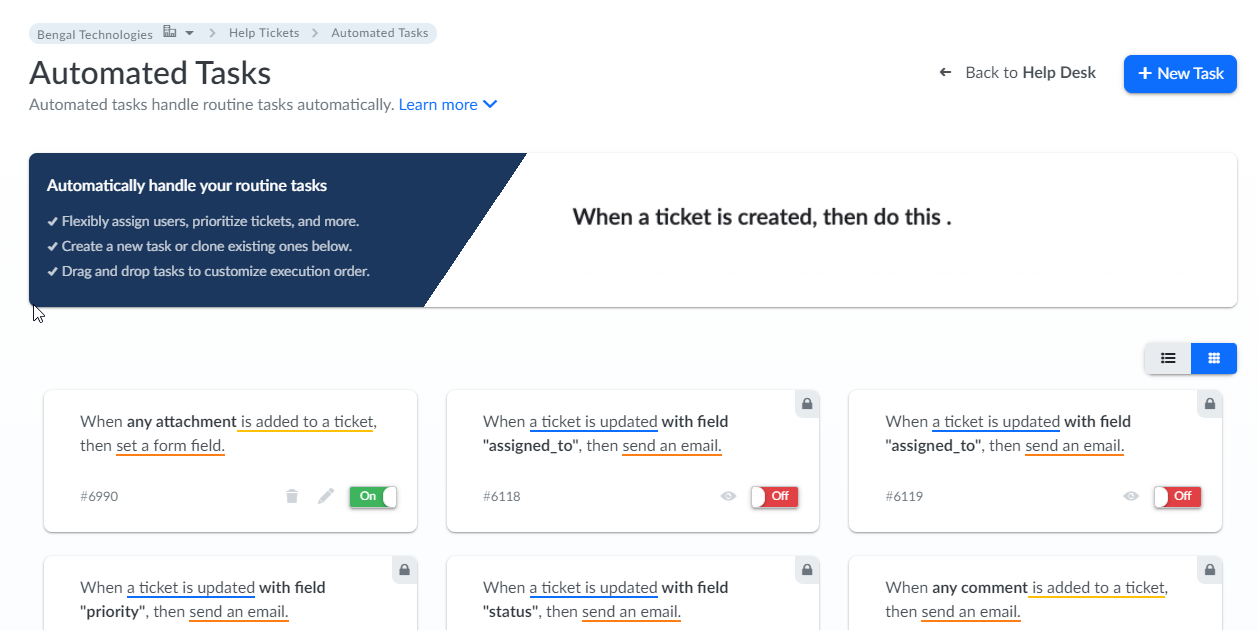
An automated task contains two parts: when the task should be triggered, and what to do when it is triggered. Some default tasks have been created for you to handle some basic tasks, such as sending emails when a ticket is updated. These default tasks have a lock icon in the upper right hand corner.

New tasks are easy to create. Much like every other page in Genuity, the main action button is in the upper right hand corner. On the automated tasks page, the main action is adding a new task. Clicking on the "Add Task" button brings up the new automated task wizard.
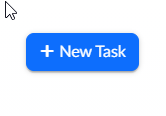
New tasks are easy to create. Much like every other page in Genuity, the main action button is in the upper right hand corner. On the automated tasks page, the main action is adding a new task. Clicking on the "Add Task" button brings up the new automated task wizard.
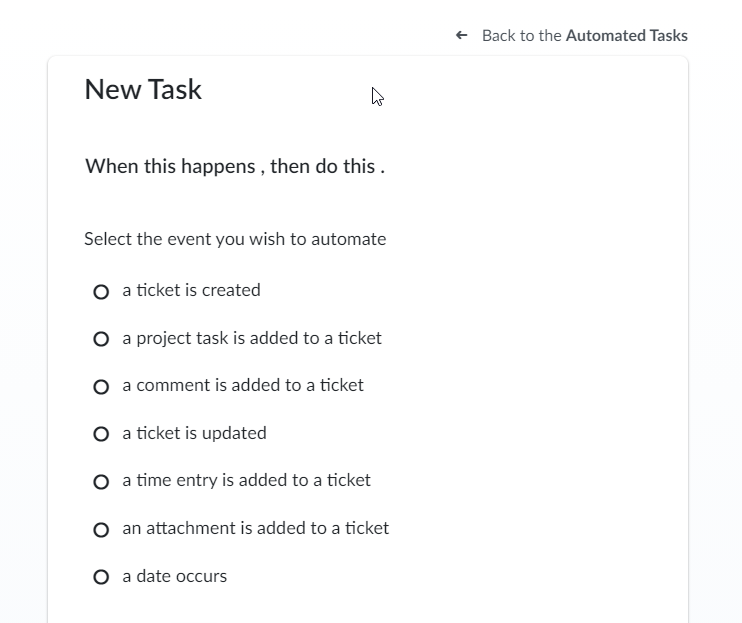
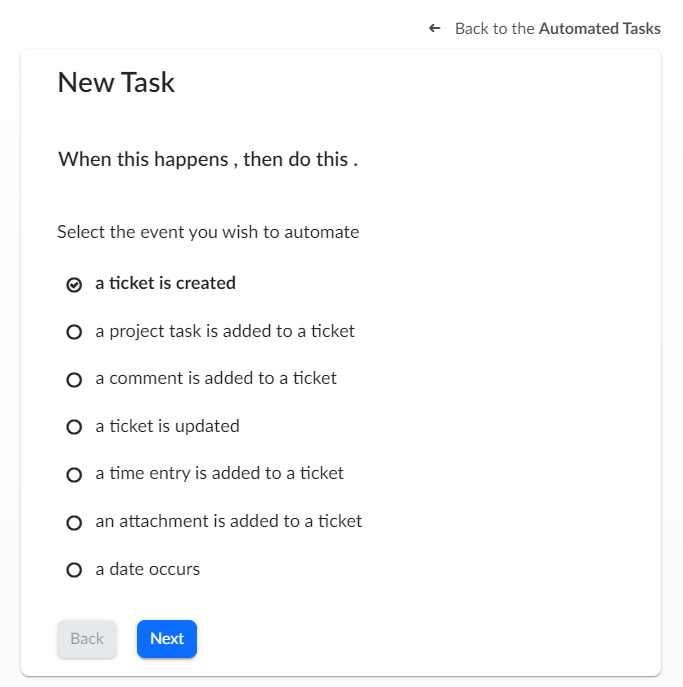
Notice the format of the task form. There is a link at the top right to get back to the list of automated tasks. Also at the top of the form, there is general sentence describing what the task will do. "When this happens , then do this." This statement will change as additional options are selected.
The first question asked is what event should cause the task to be triggered. Let's work through a basic task to understand how to set up a task. For this example, we'll create a task which will assign a ticket to John Smith if a ticket is created with a "High" priority. Select the option "a ticket is created" and click on "Next".
Notice the changes that occurred on the page. First, the top description of the task changed. It now says, "When a ticket is created, then do this." Also, the options to select have changed as well. The next options will help build the task given our previous choice.
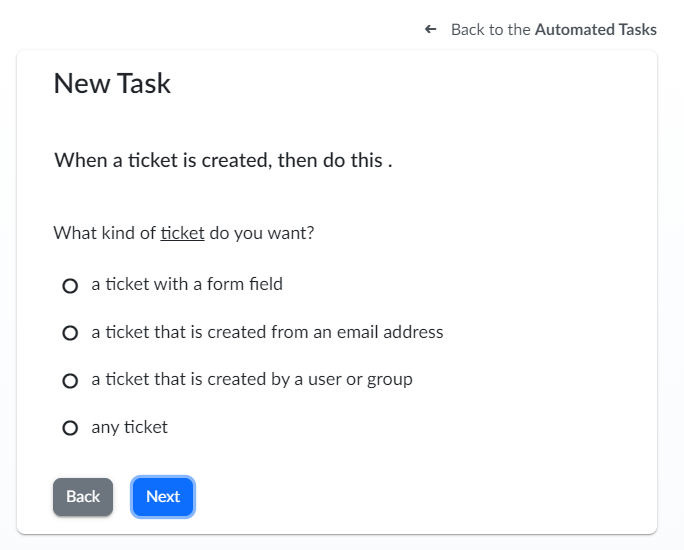
Select "a ticket with a form field" and click "Next".
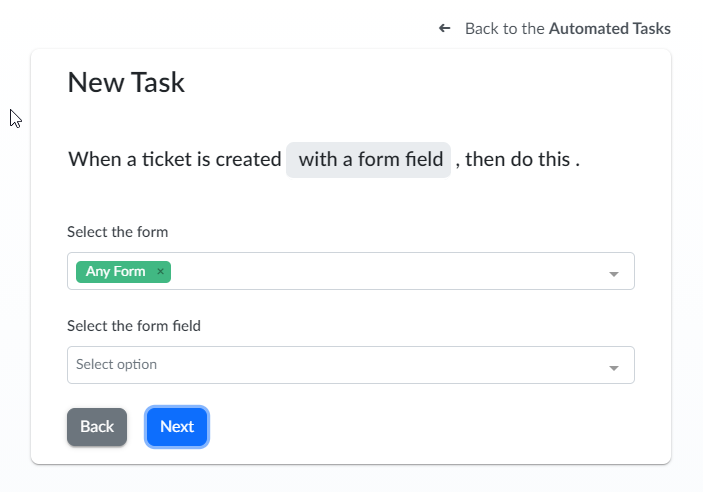
The task description at the top of the page has changed to reflect the latest changes.

Some key changes have occurred. The description now reflects the changes we previously selected. Also, the phrase "with a form field" has a highlight. This phrase is now linkable to the previous option list. Also the form allows us to select a field in which we want populated when the ticket is created. Select the priority field and click "Next".
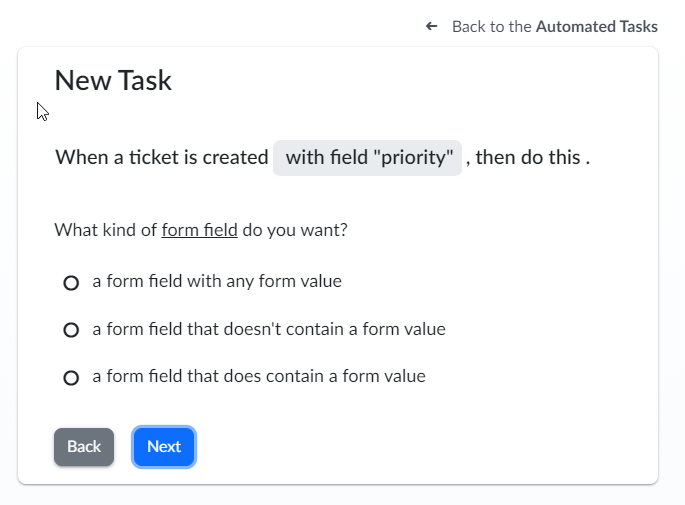
Again, notice the change to the task description at the top.

The description has again changed to better match the information selected. The options also have changed. Since the goal is to match tickets only with a priority of "High", we'll select the option "a form field that does contain a form value".
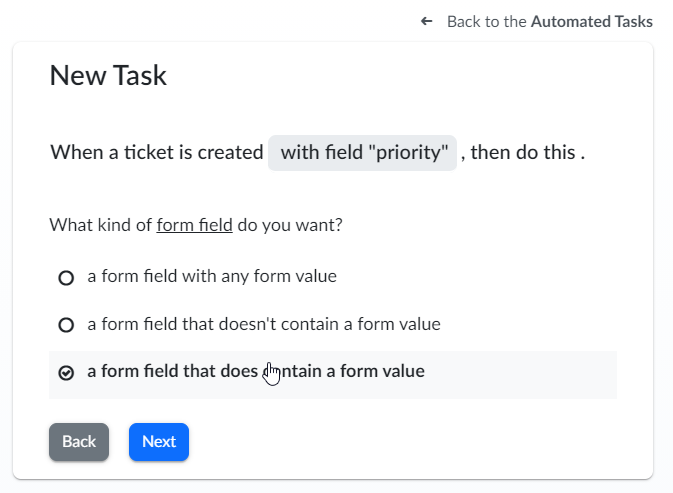
We'll click on "Next" to move to the next step.
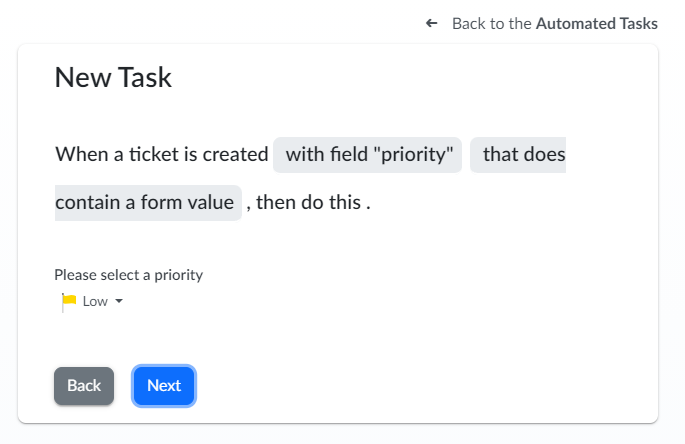
The priority field is now displayed so a value can be chosen. The task description has also been updated. There are now two links in the task description.

We'll select "High" from the priority dropdown. And select "Next".
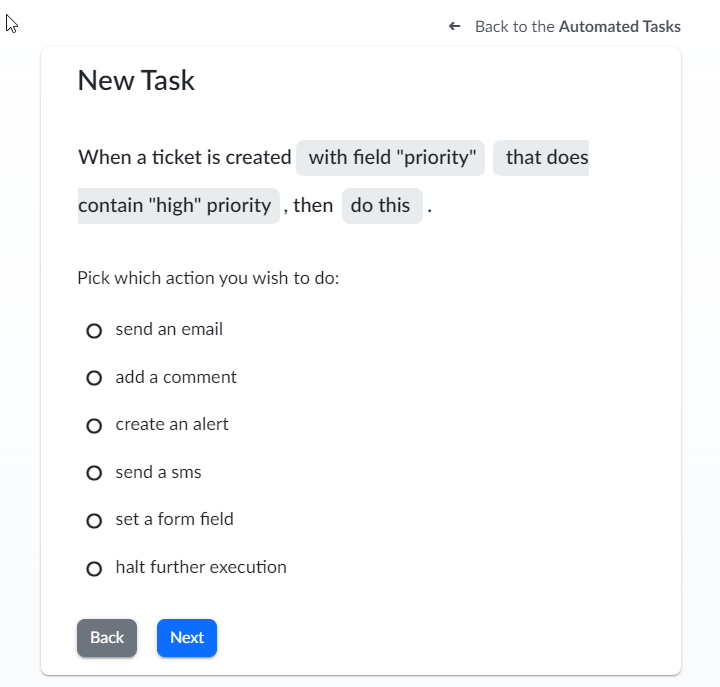
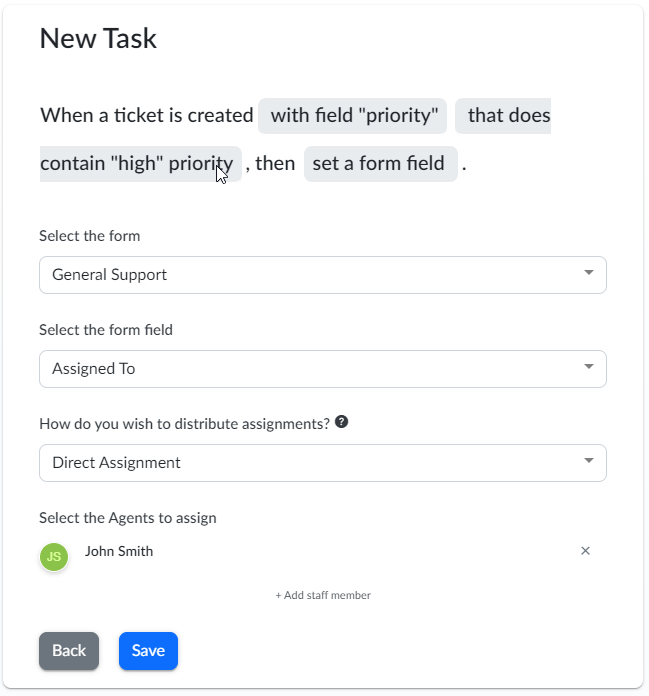
As we said earlier, an automated task contains two parts: when the task should be triggered, and what to do when it is triggered. At this point, the first part of the task is complete. The next step is to decide what to do when the task is executed. Select "set a form field".
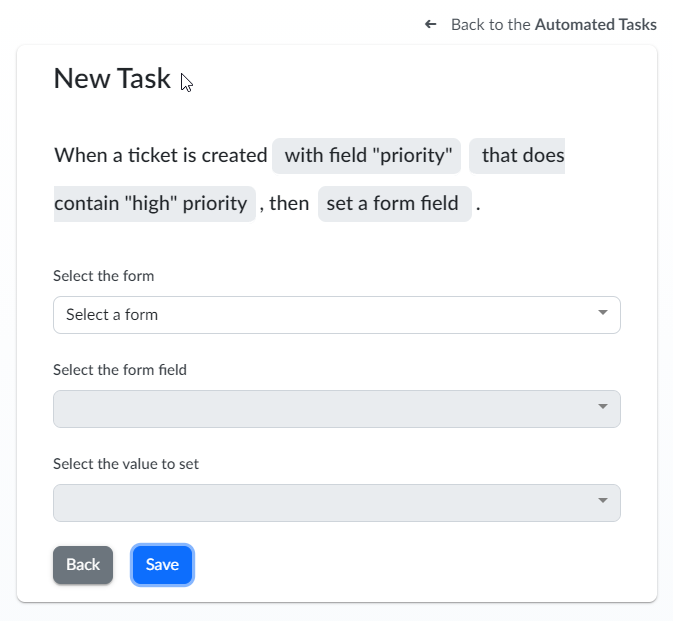
We're almost done. In this case, we're going to select the General Support form, the Assigned To field, Direct Assignment for the type of distribution, and John Smith as the person to assign. Click "Save".
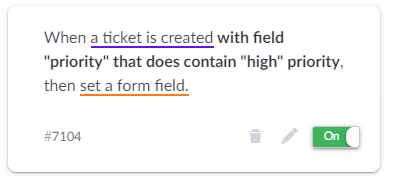
Our task is complete!
Now, to edit the task, click on the task. The action detail page is displayed.
The different parts of the task can be navigated to either by clicking on the links in the task description or by clicking on "Back". If any changes are made, they must be saved before taking into effect.