Each ticket is a collection of fields. Each collection of fields forms a custom form. A help desk can have one to many custom forms, and each custom form can be customized in nearly infinite number of ways.
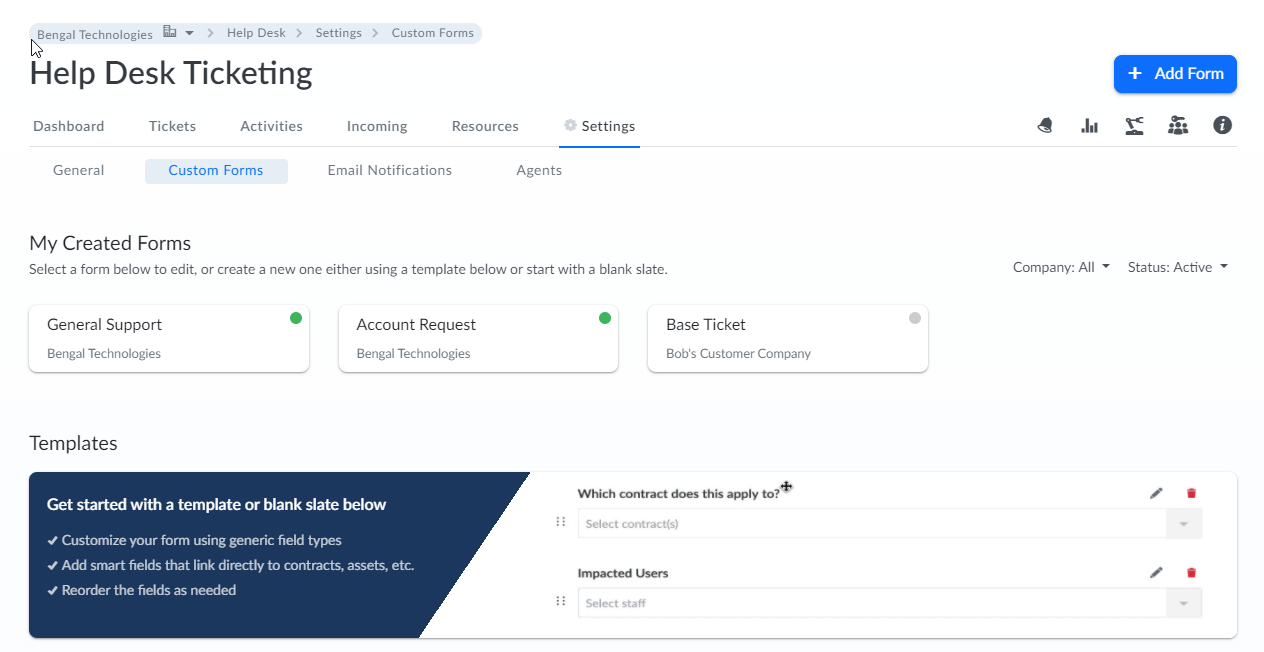
A new custom form can be added by clicking on the "Add Form" button at the top right of the custom forms.
A custom form has a name, which will communicate what the purpose of the ticket. The custom form name is shown at the top fo the page. With a new form, some fields are included for free. Subject, Priority, Status, Created By, and Assigned To are included.
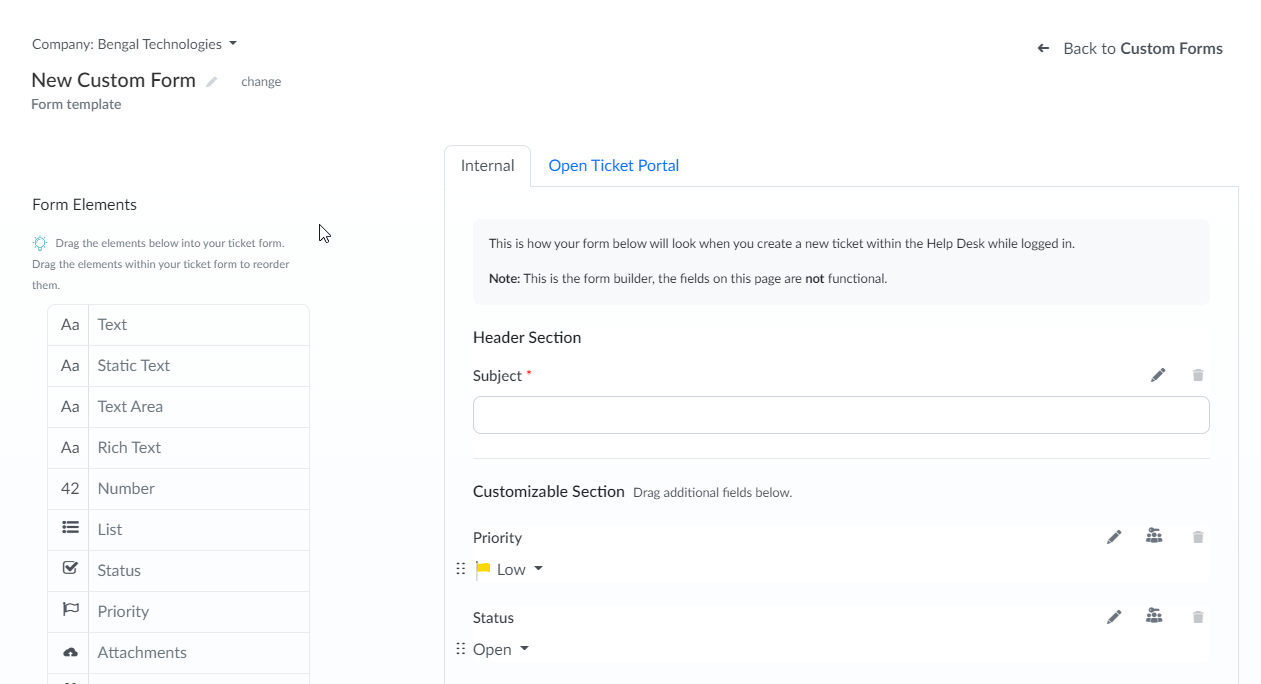
On the left hand side, there are a list of fields, called the Field Pallette. The form is displayed to the right, with the form selection at the top.
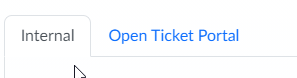
Now would be a good time to talk about Internal vs Open Ticket Portal. Internal refers to the default ticket form shown in Genuity when the user is logged in, while Open Ticket Portal is the ticket form accessed by those users without access to your company in the Genuity platform.
Fields can be dragged on to the form. When the field is dropped, it creates a new field of that type in the form. Each field can be configured to collect the information needed to be collected. There are a number of actions that can be taken for each field. A field can be edited or deleted. A field can be limited to be either viewable or changable for a given list of users and/or groups. When viewing the field under the Open Ticket Portal tab, the field can be made non-viewable in the Open Ticket Portal.
There are numerous attributes for each field which help the system know how to refer to the field, what should be displayed for the field, etc. Below is a summary of each attribute.
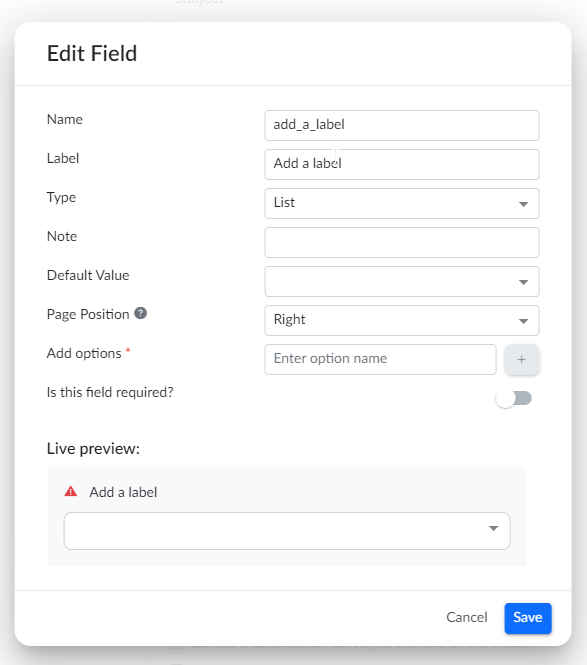
- Name - Name of the field. Used in error messaging and in other places for the field.
- Label - Label displayed above the field in the form field. This can be a more user-centric label for the field than the name.
- Type - Shows the type of the field. This is a read-only value.
- Note - A special instruction that is shown below the field. This is helpful for special instructions for a field.
- Default Value - The value the field will contain when the form is first displayed.
- Page Position - Where on the page the field is located. For most fields, the page position will be the right.
- Page Position - Where on the page the field is located. For most fields, the page position will be the right.
- Required - Whether the field is required. A required field must be completed before the form can be submitted.
As changes are made to the field, a live preview of the field is available at the bottom of the modal. This allows the field to be reviewed before saving the changes. Once saved, the new field changes will show in the form. Also, before the form can be saved, quite often there is a warning at the bottom of the form that must be acknowledged.
Please note: The changes to the fields and custom form are not applied until the custom form is saved. This ensures all changes are saved at the same time.

The acknowledgement lists the fields that will be shown in the open ticket portal.