Probe Installation
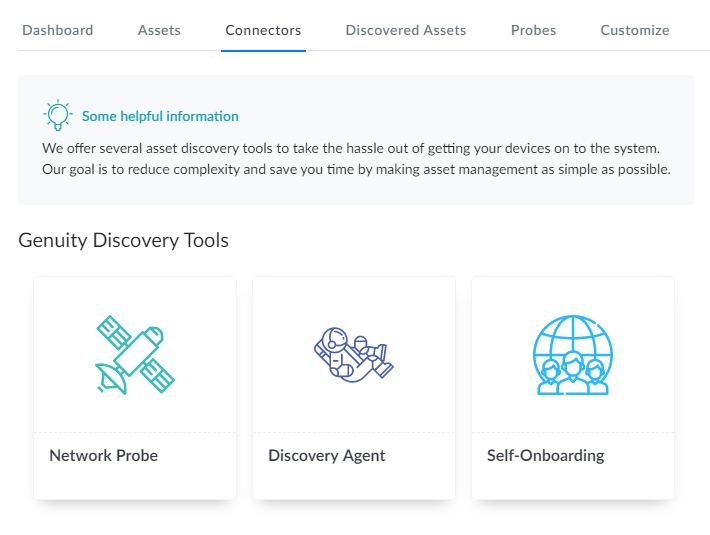
Step 1: Go to Home -> Assets -> Connectors and from the Genuity Discovery Tools section click on Network Probe.
Step 2: In the Network Probe section, click Download Windows Probe for Windows OS and for Mac machines network probe is coming soon.
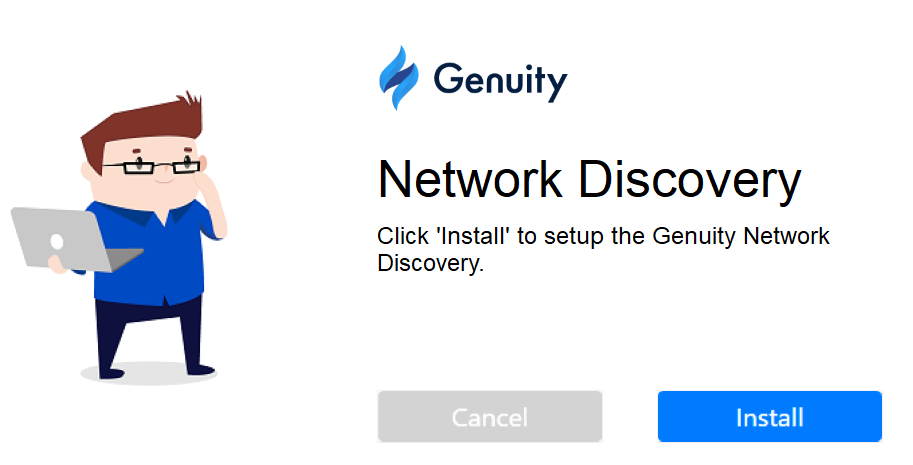
Step 3: Double-click the .msi file that was downloaded and it will start the setup process.

Step 4: Click on Install.
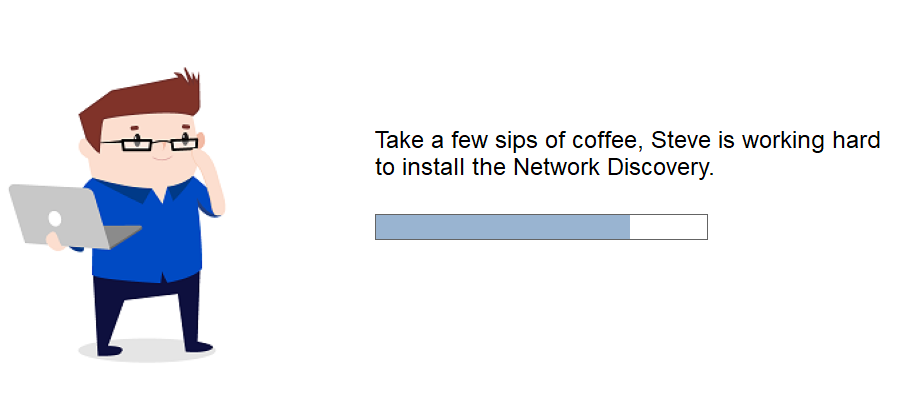
Step 5: The installation process will start.
Step 6: Once the network probe installs successfully, click on Get started.

Step 7: At first probe will do following things:
1) Fetching basic information of the system on which the probe is insall.
2) Check the new version of probe, if available It will install automatically .
3) Fetching the already saved configuration.

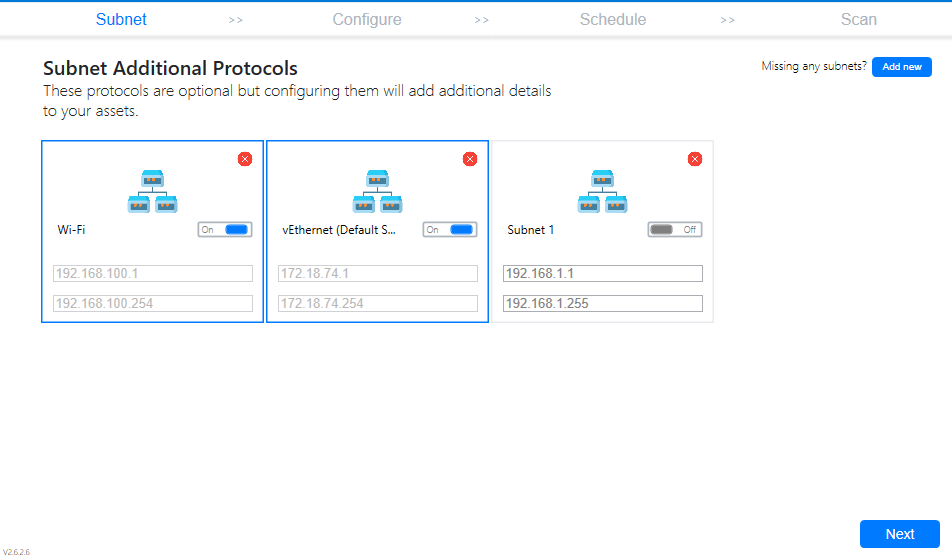
Step 8: This will display all the subnets of your system and subnets you saved manually. Subnet range can be enabled or disabled by clicking on toggle and can be removed by clicking on the cross icon. A subnet can be added manually by clicking on Add new.
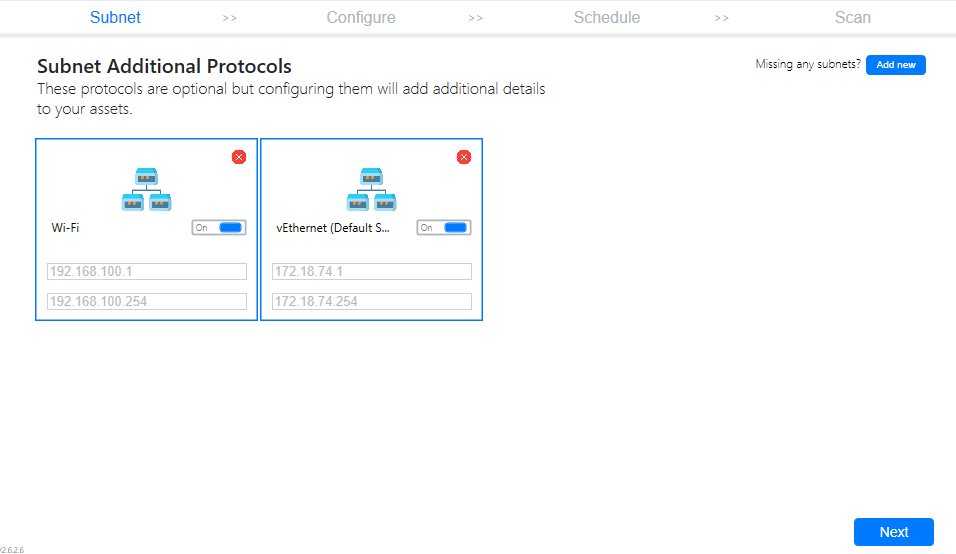
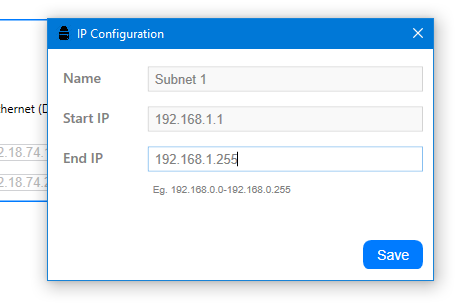
Step 9: Write the Name(must be present), start IP and end IP on the text field and click Save.
Step 10: Click on Next, it will save all subnets ranges and move to next step.
Step 11: This is a configuration step in which WMI queries to fetch data from Windows, SSH for Linux and Mac, and SNMP to fetch devices like printers, routers, firewalls, and switches. And click on Setup to configure SNMP, WMI and SSH.

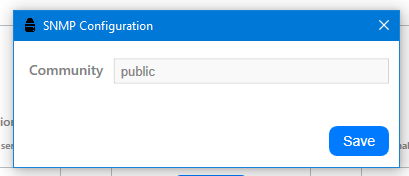
Step 12: Write the Community name on the text field by default it is public and click Save.
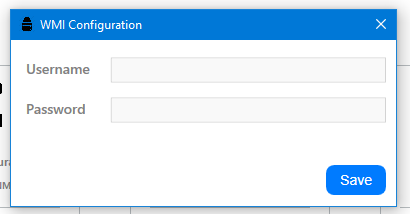
Step 13: Write the Username and Password on the text fields and click Save.
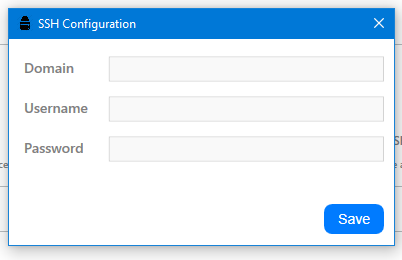
Step 14: Write the Domain, Username and Password on the text field and click Save.
Step 15: After saving all configurations click on Next and move to the next step.

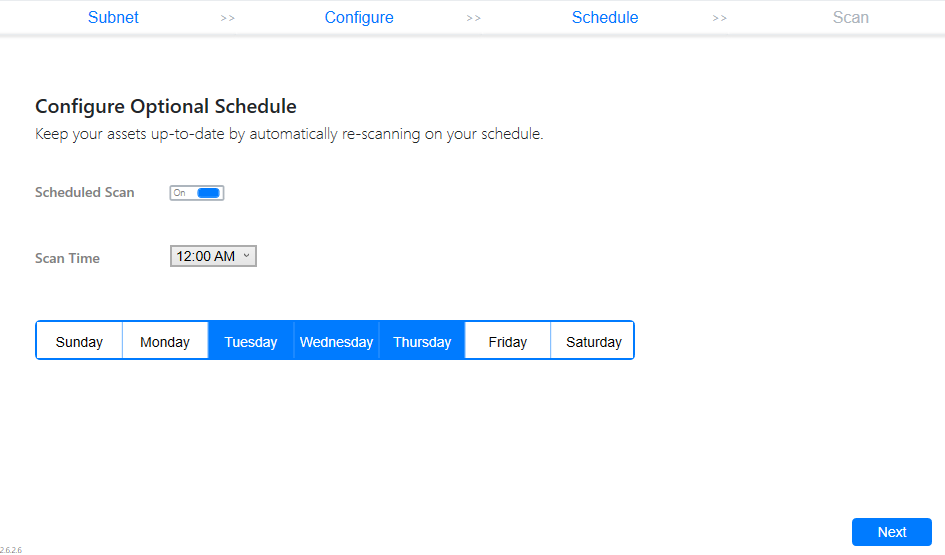
Step 16: In this step schedule is set up so the selected day and time probe will automatically update all the assets on the Genuity platform. Click on Next it will save the schedule and move to the next step.
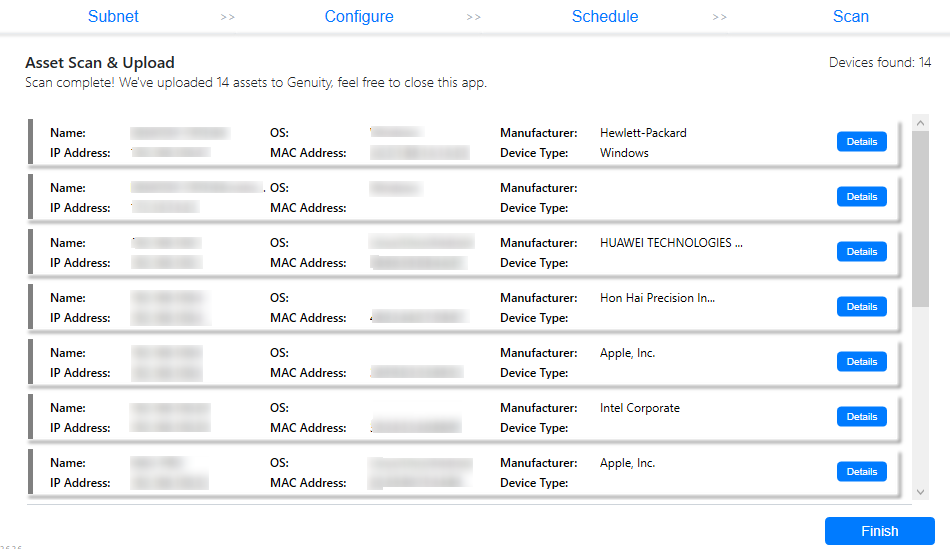
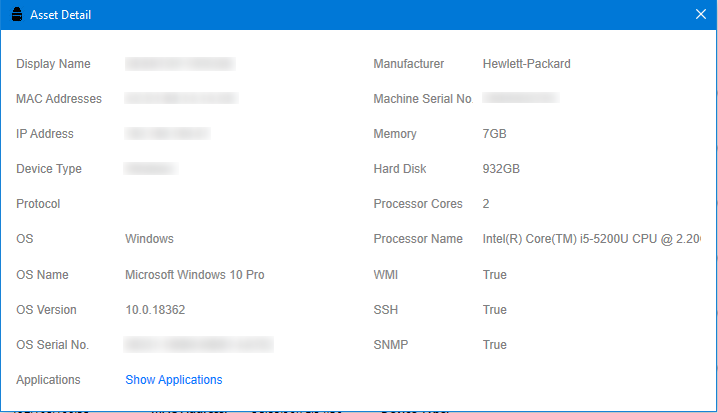
Step 17: In this step probe scans all the assets and retrieves their information like (Applications details, Mac Addresses details, IP Address and OS info) that was in the subnets range. Click on Details for viewing the detailed information of the asset.
Step 18: Click on the cross icon to close the detail window.
Step 19: Click on Finish for closing the probe.
That's it! These assets will show up in the Genuity system under discovered assets.
Discovered Assets
For the Genuity Discovery Probe and for connectors such as Cisco Meraki and Unifi, we allow you to review information before it is imported into the platform. This way you can be sure you are importing the devices you want to track.

Ready for import
Devices that we discover enough information that just needs to be confirmed.
Needs confirmation
Devices that we have discovered information on but need information to be confirmed.
Unrecognized
Devices where we discovered duplicate information such as the same mac address that needs to be confirmed.
Ignored
Devices that are discovered through the probe or a connector that you want to ignore in the future.
Imported
A complete history of all devices imported to the system as well as the method used to import the devices. Note if the agents or Self- Onboarding are used these assets are automatically imported into the platform and will be displayed under imported.
Helpful Tip
Before importing any assets, we allow you to define key attribute data such as device type, location, used by, managed by, department and impact. Multi-select is available and please review all information carefully before importing asset types into managed assets.
Uninstallation directly from device
Step 1: Click Start and then click Control Panel.
Step 2: Go to Program and Features and from the list of installed applications, click Network Discovery.
Step 3: Click on Uninstall and follow the wizard to remove it.
Uninstallation using Command Prompt
Step 1: Download the script from url: Link .
Step 2: Open cmd as an administrator.
Step 3: Add the downloaded file path (path_to_script.vbs) and press Enter.