Syncing Office 365 as an Administrator
Genuity makes it a breeze to integrate all of your Microsoft products, track usage and licenses.
Simply follow the instructions below and also find a detailed explanation of Genuity's interaction with the Microsoft API.
- Login to Genuity as a user or administrator. You will need to have edit permissions for the Vendors module.
- Navigate to the Vendors Module → Connectors Tab → Office 365 and click sync account. Administrator privileges are required for this connector
- Authenticate your credentials and on the Microsoft portal and click submit.
- Once synced Genuity will pull in all of product and license details and route this information to discovered applications.
- Go to discovered apps tab and link the license detail to your vendor of choice.
Syncing with the Microsoft API requires an administrator account that is used to authorize the Genuity application to access your Office 365 license and usage data. But don't sweat it, the Office 365 admin account that you use is never sent to Genuity, it is a direct web authentication to Microsoft that enables the Genuity application with read only permissions.
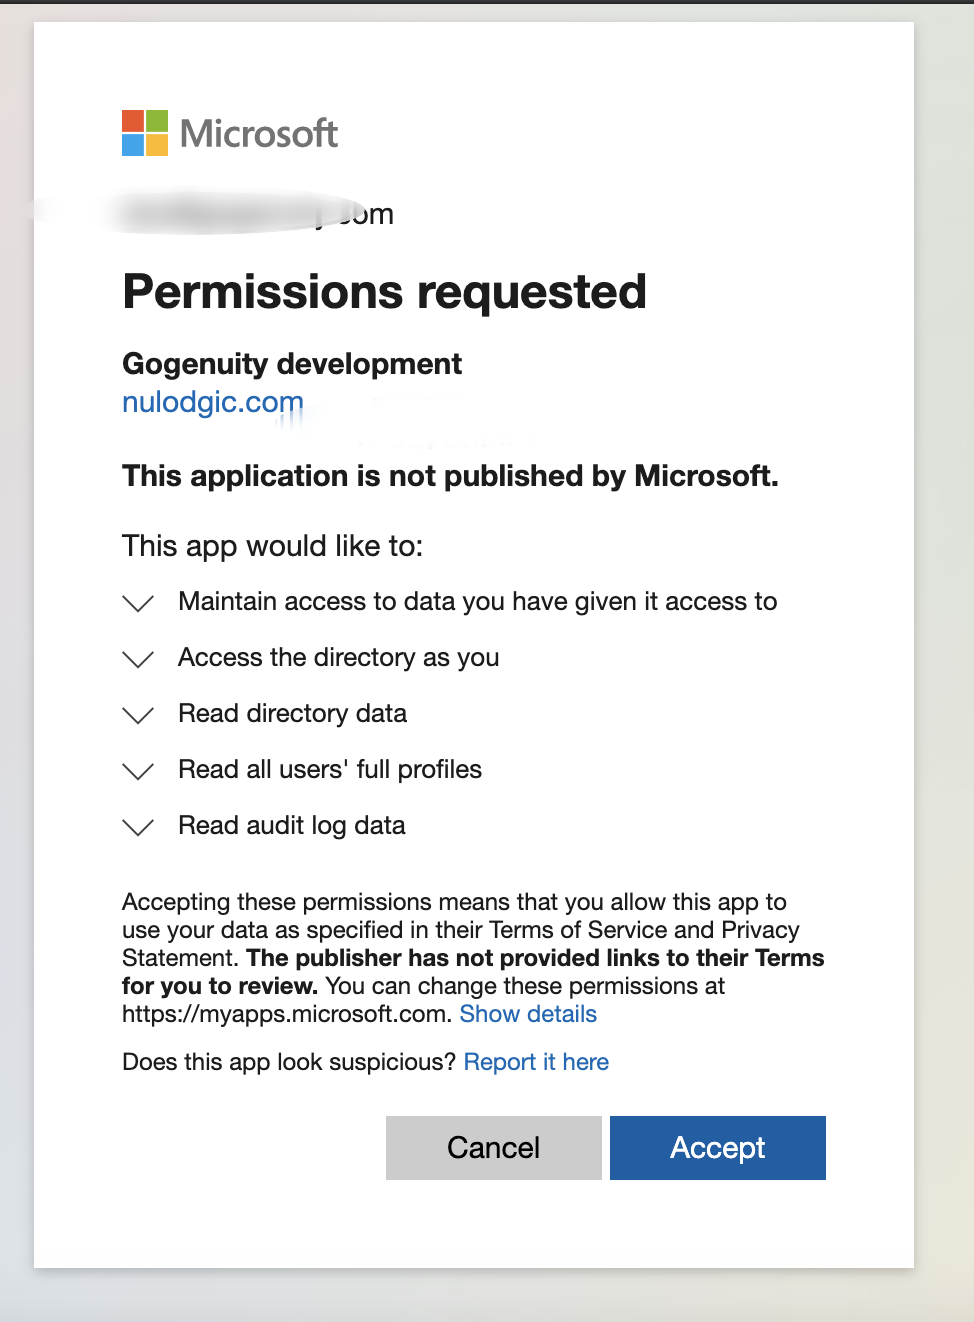
For additional Peace of Mind, when you are syncing Genuity with Microsoft, you will be prompted with the permission request that we are accessing and also that the permissions that you’re granting to the Genuity platform are all read only permissions.
.png)
Assigning permissions to a service account (Office 365)
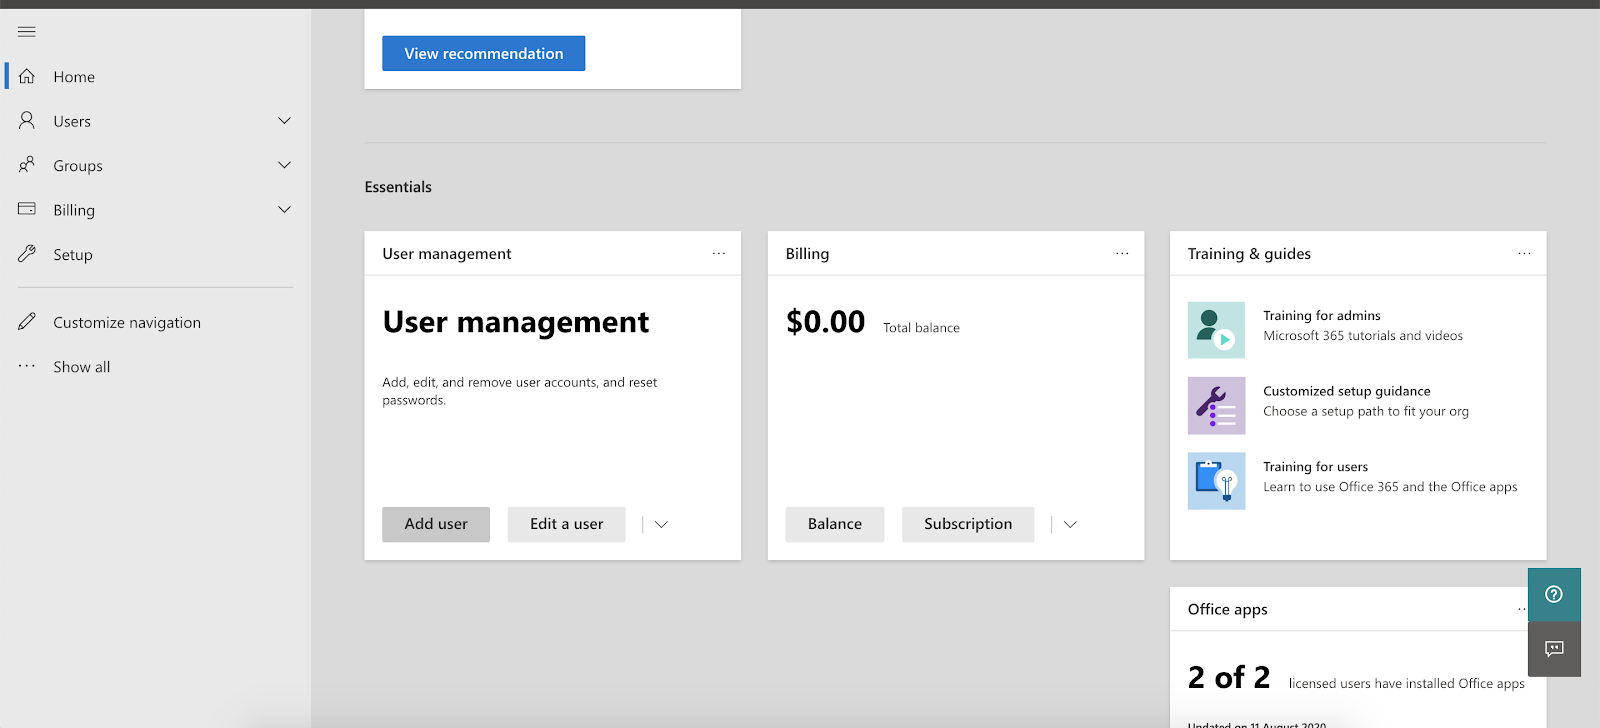
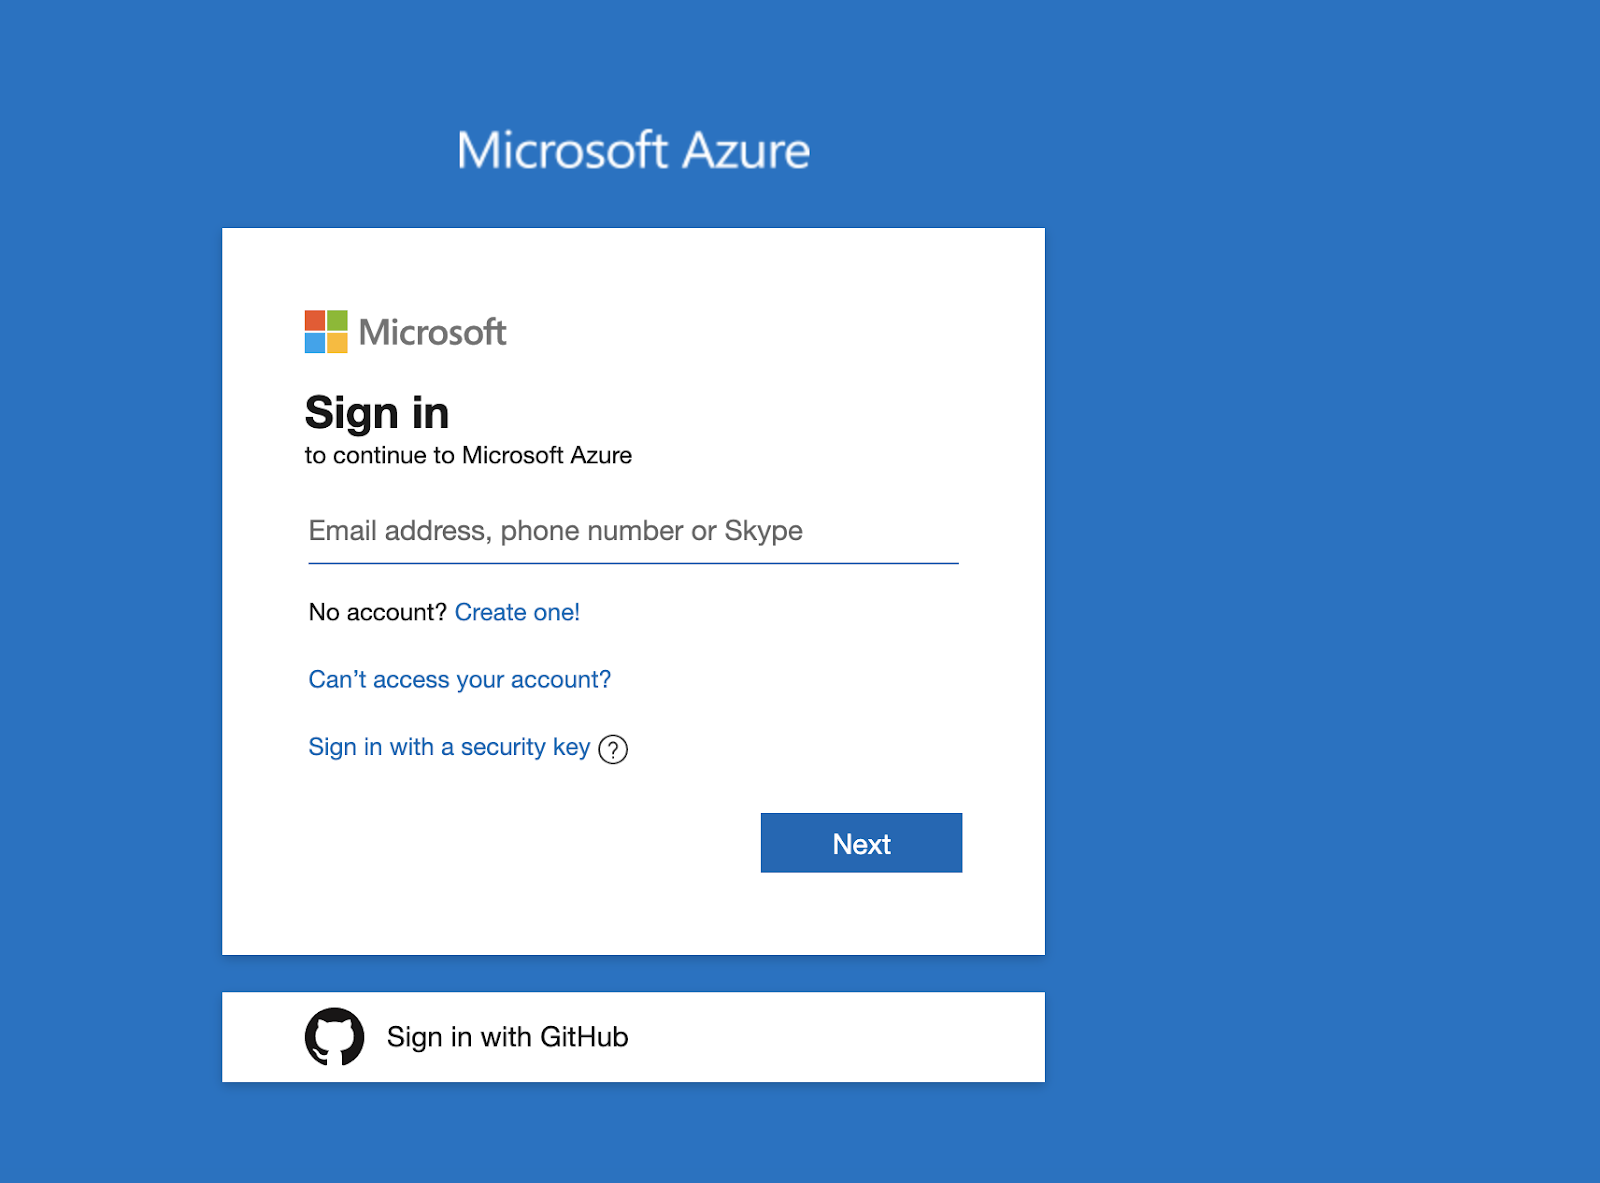
Step 1: Login to Office 365 admin Portal

Step 2: Go to Admin section from main dashboard

Step 3: Click on Add User from User Management tab on dashboard
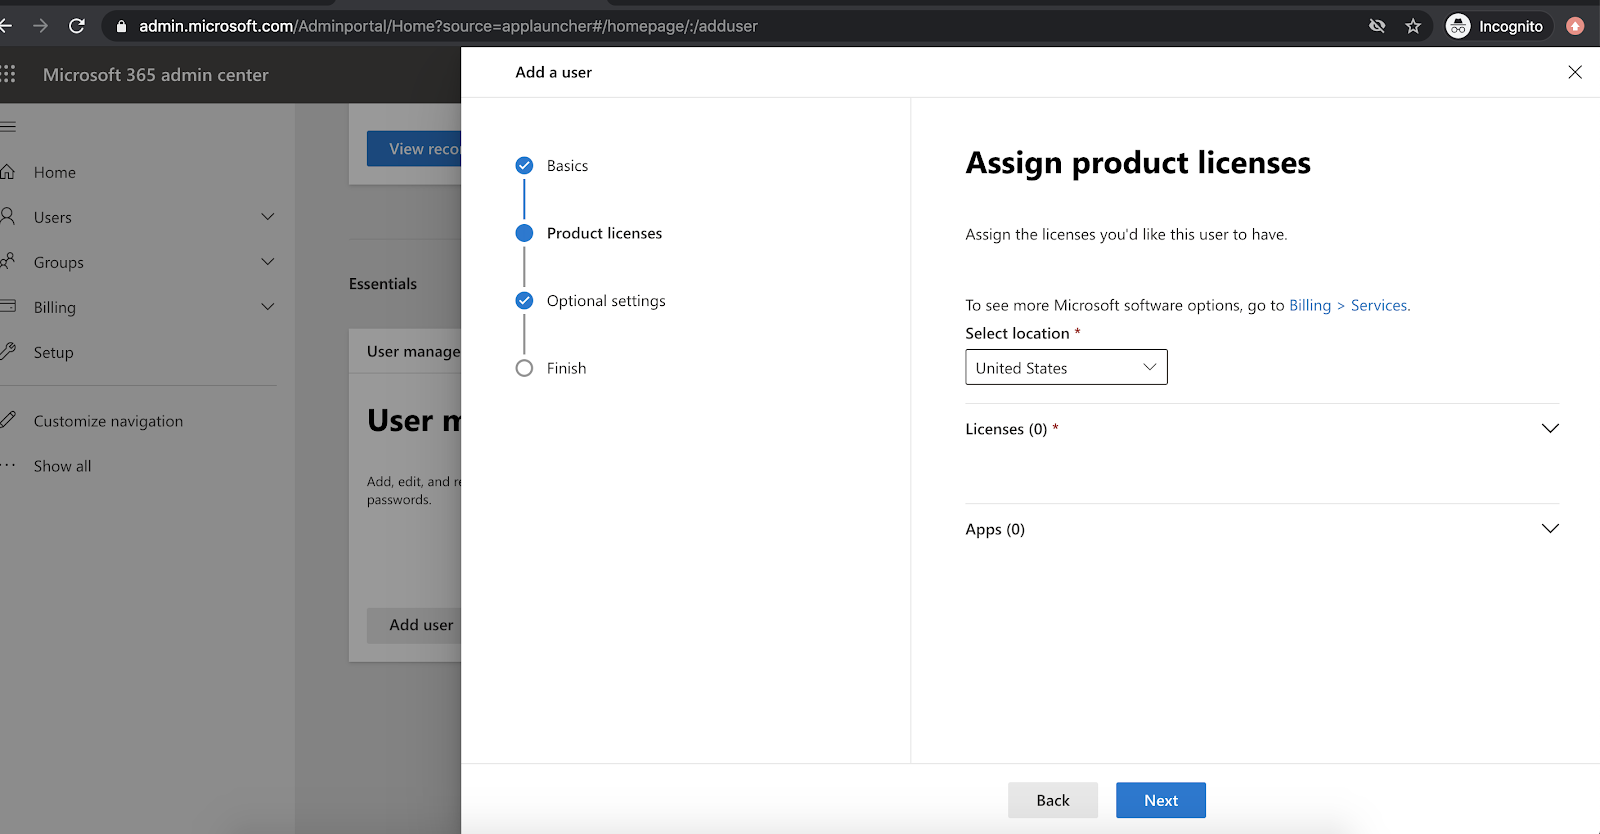
Step 4: Fill in the basic user requirements

Step 5: Adding the product licenses info is optional
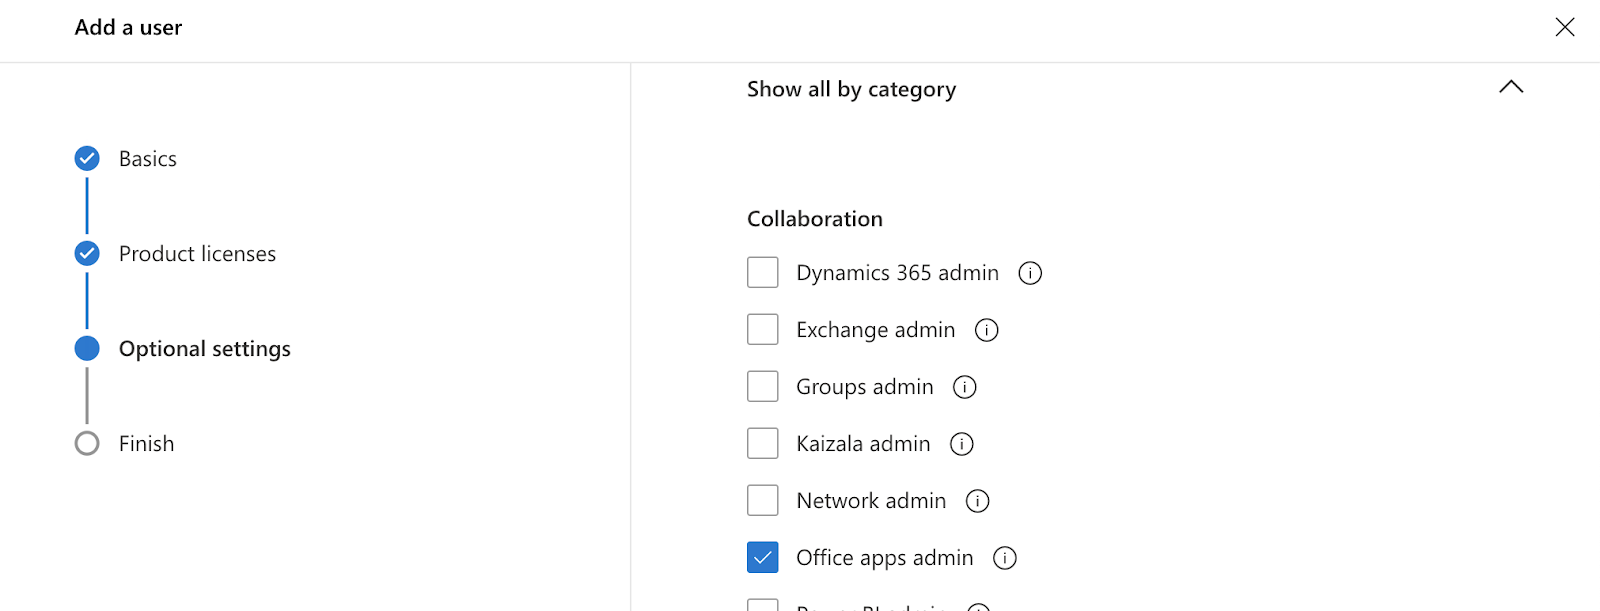
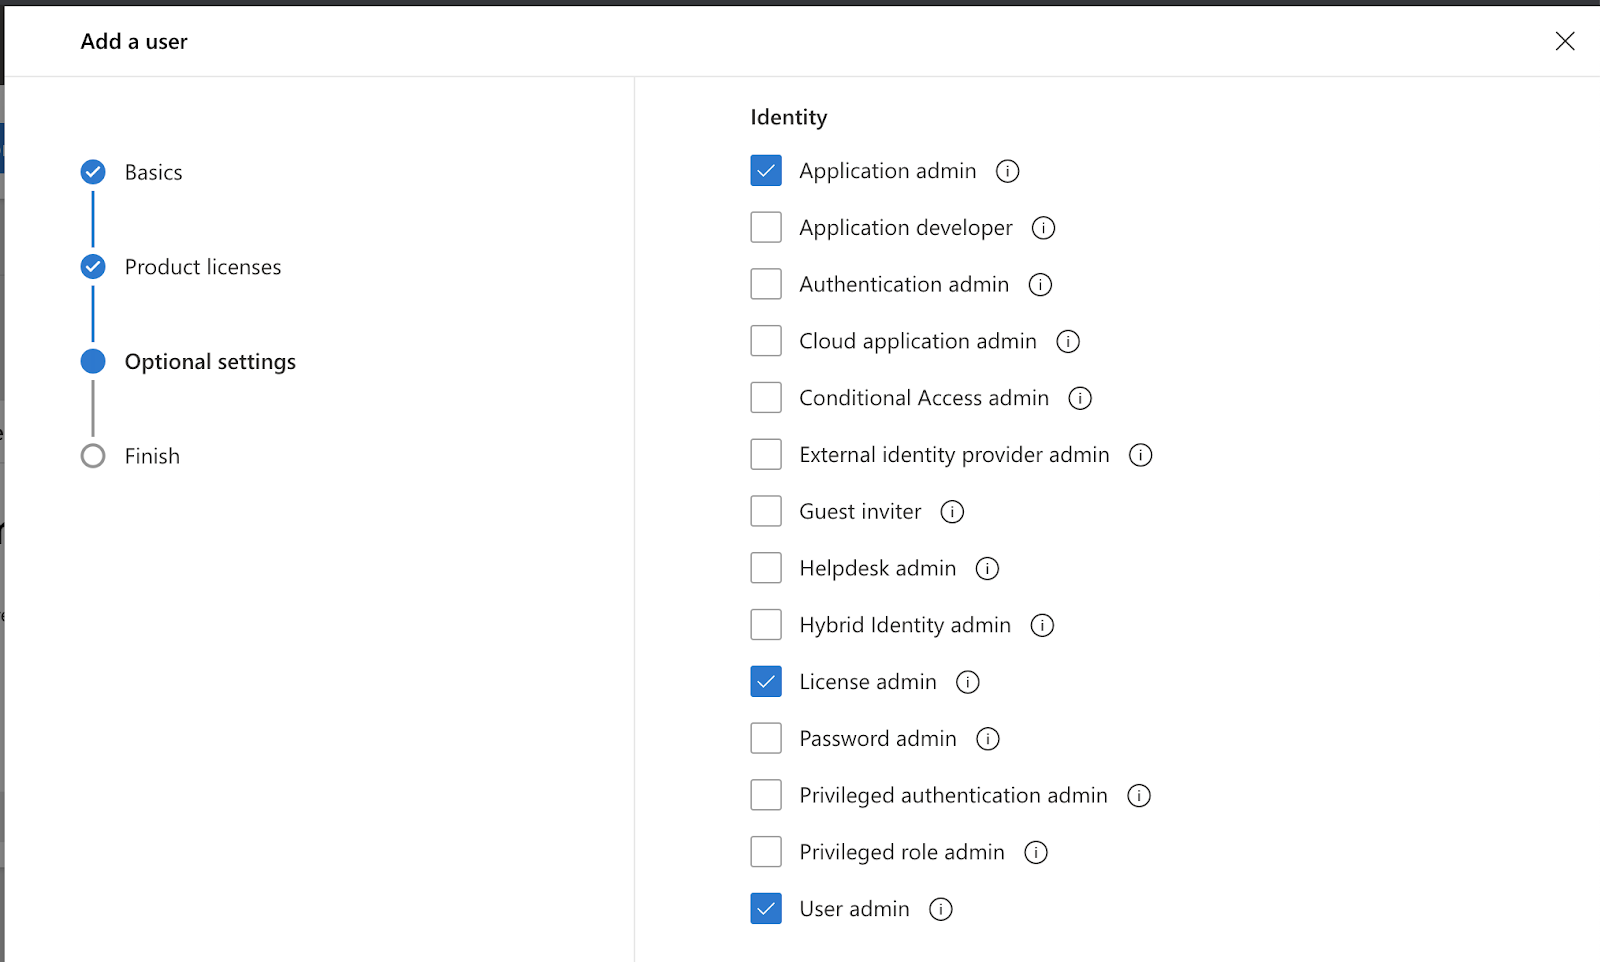
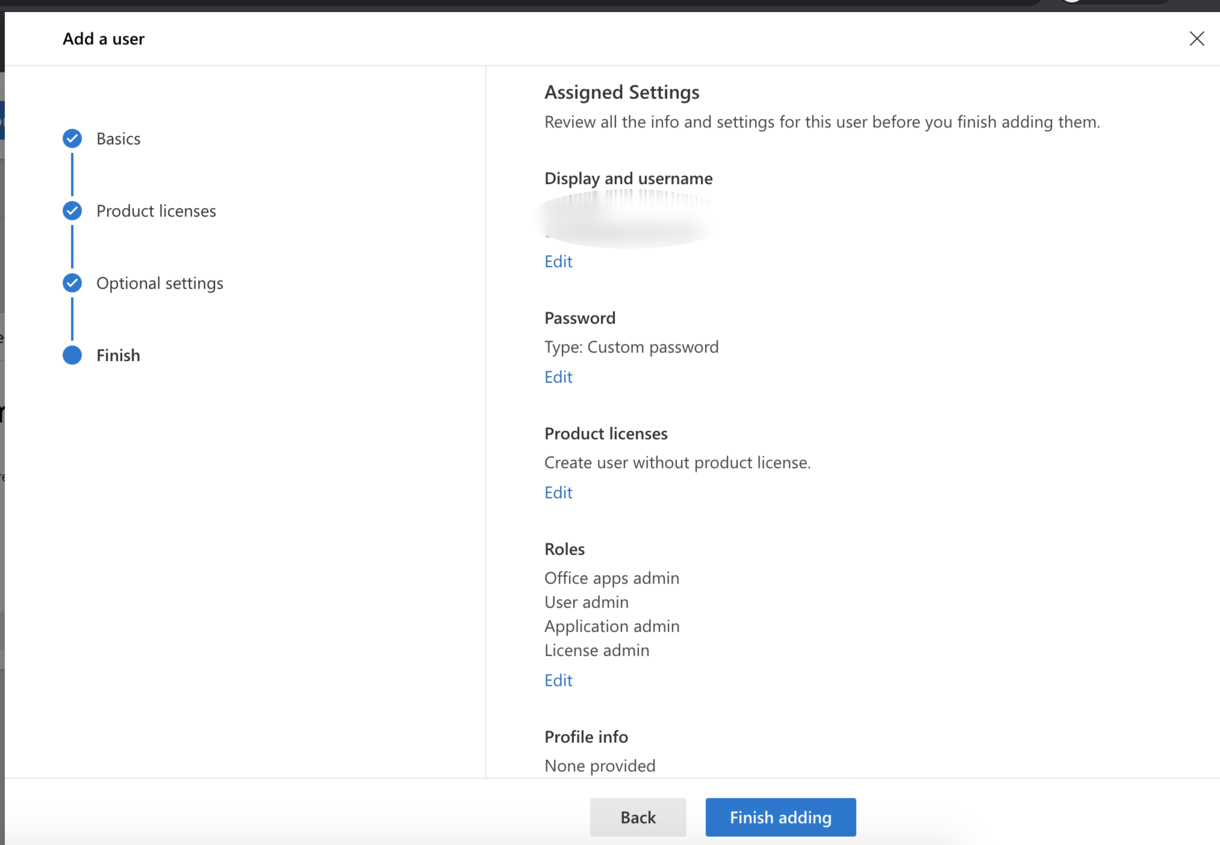
Step 6: Move to the third step and add following roles to the users
- License Admin
- Office Apps administrator
- User Admin
- Application admin
Pick the admin roles by clicking on “Show all by category”
Step 7: Review the user info and click on finish adding
Step 8: Once the user is created with required roles, you can integrate Office 365 with Genuity.
Step 9: You’ll be asked to allow particular permissions given on the consent screen, please accept them to successfully sync Office 365.
Assigning permissions to a service account (Azure AD)
Step 1: Login to Azure Portal
Step 2: Go to Users section from main dashboard

Step 3: Select Particular User from the list to whom you want to assign required permissions

Step 4: Go to Assigned Roles from left sub menu

Step 5: Click on Add assignments
Step 6: Assign these 5 admin roles to the user to integrate
- Application Administrator
- Directory Readers
- Office apps administrator
- User administrator
- License Administrator

Step 7: Add these roles and then you’ll be able to integrate Office 365 with Genuity with that user.
Step 8: While integrating office 365, you’ll be asked to give consent for the required permissions, please accept them and you’ll be good to integrate.
